The Voracious Resurgence | |
| Prime Weapons • Ultimate Weapons • Ultimate Augments • Abjurations iL119 • JSE Necks • Divergence Augments • Escutcheons | |
| Reforged Armor Artifact: +1 • iL109 • iL119/+2/+3 Relic: +1/+2 • iL109 • iL119/+2/+3 Empyrean: +1/+2 • iL109 • iL119/+2/+3 |
Guides • Crafting • Trusts • Apex Monsters |
Category:Dynamis - Divergence: Difference between revisions
mNo edit summary |
|||
| Line 46: | Line 46: | ||
* Shard and Void items required for reforging relic armor 119 to the +2/3 variants have a rare chance of dropping from a monster of the associated job. |
* Shard and Void items required for reforging relic armor 119 to the +2/3 variants have a rare chance of dropping from a monster of the associated job. |
||
**However, [[Aurix]] will allow you to exchange beastman and kindred medals for them. |
**However, [[Aurix]] will allow you to exchange beastman and kindred medals for them. |
||
***Unlike cards and medals, Shards and Void items may be purchased from bazaars but not from the Auction House. |
|||
<onlyinclude>{{#ifeq:{{{transcludesection|Currencies}}}|Currencies| |
<onlyinclude>{{#ifeq:{{{transcludesection|Currencies}}}|Currencies| |
||
<noinclude>:</noinclude>{{{!}} class="Standard C-Highlight-Purple R1-White overflow-visible" style="text-align: center; max-width: 788px" |
<noinclude>:</noinclude>{{{!}} class="Standard C-Highlight-Purple R1-White overflow-visible" style="text-align: center; max-width: 788px" |
||
Revision as of 01:03, 13 May 2018
|
| ||||||||||||||||||||||||||||||||
Entry Requirements
- Level 95 or higher.
- Have completed the mission A Rhapsody for the Ages.
- Be in possession of the permanent Key Item Dynamis - Tavnazia sliver.
- Obtained by defeating at least one of the Dynamis - Tavnazia bosses:
 Diabolos Heart, Diamond, Spade, or Club.
- Obtained by defeating at least one of the Dynamis - Tavnazia bosses:
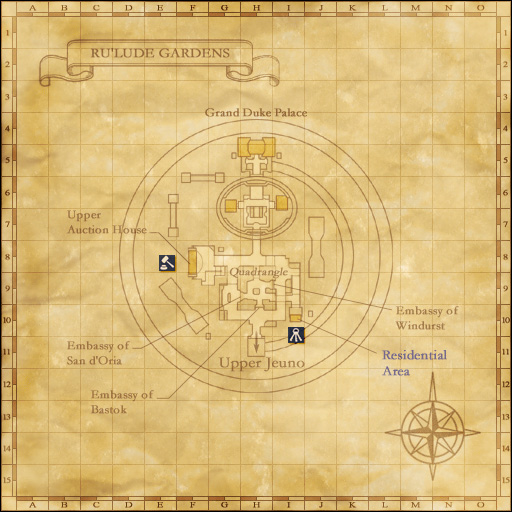
- Purchase the permanent Key Item Empty hourglass from the goblin Aurix via the ??? in Ru'Lude Gardens (G-8) (near the AH) by trading a single
 100 Byne Bill,
  M. Silverpiece, or
  L. Jadeshell to the ???.
- This only needs to be done once.
- A player may enter once every 60 hours (Earth Time). The 60 hour lockout begins the minute the player is entered into Dynamis-Divergence when the Key Item Empty hourglass is exhausted.
- Aurix is able to tell when the player may reenter again when selecting to "Ask about time limits with Dynamis (D)" when talking to him.
- You may also check the exact time you are able to reenter by clicking the entrance to Dynamis-San d'Oria [D] at Southern San d'Oria K-10.
- To enter a zone, interact with the corresponding Enigmatic Footprints.
- Parties must be between 3 and 18 players.
- Every party member must have the Empty hourglass key item.
- There may not be more than 50 parties participating in Divergence at once.
- Trusts may be called in individual parties. It is possible to have up to 3 separate parties in Dynamis-Divergence with trusts.
- In a case like this with more than one alliance group in the zone, neither claim of monsters nor any loot is shared among any of the separate groups.
- Parties must be between 3 and 18 players.
Time Limit
- The initial time limit is 60 minutes (Earth time) and may be extended up to 90 minutes.
- The zone's mid-boss grants a 30 minute time extension when defeated.
- Players may leave at any time before time expires by using the
 Black Hourglass temporary item received upon zoning in.
Currencies
- Currency may be traded, bazaared, or sold on the auction house (under misc 3.).
- Between 1 and 4 cards may drop per monster.
- Treasure Hunter affects this drop rate.
- Cards may also be stolen from enemies using the Thief job ability, Steal.
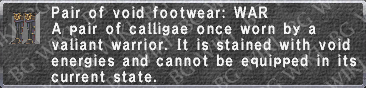
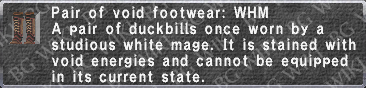
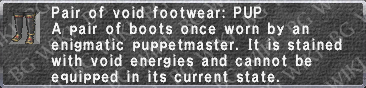
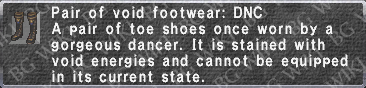
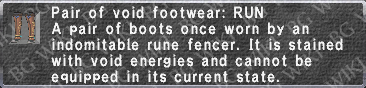
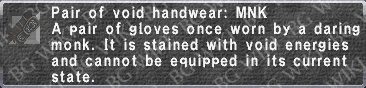
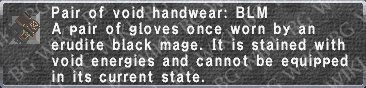
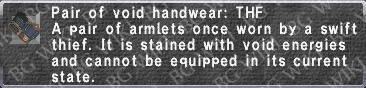
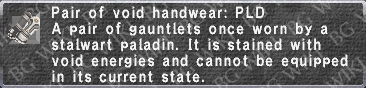
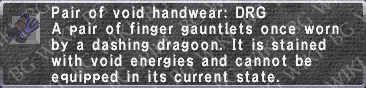
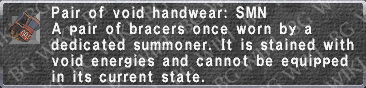
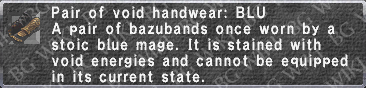
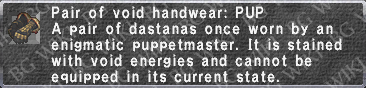
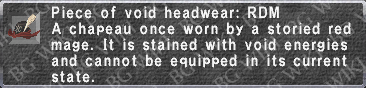
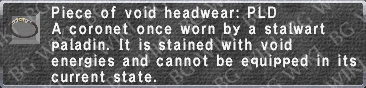
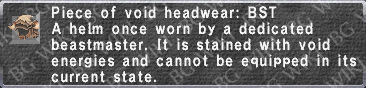
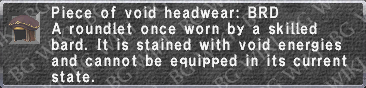
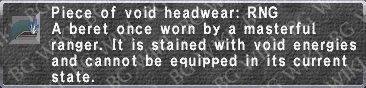
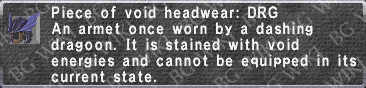
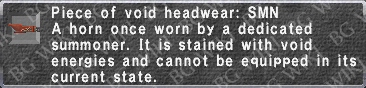
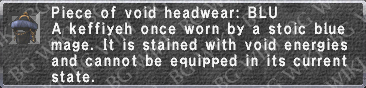
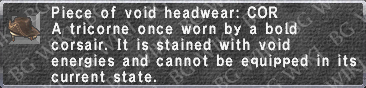
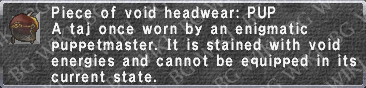
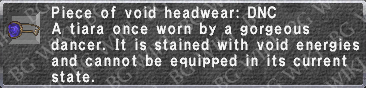
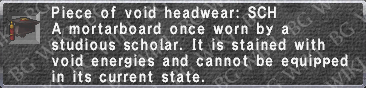
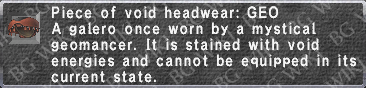
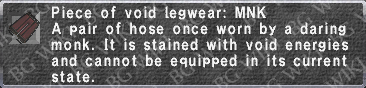
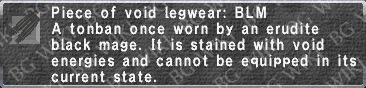
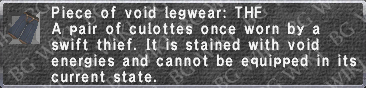
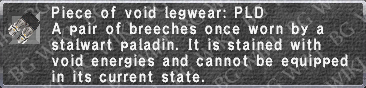
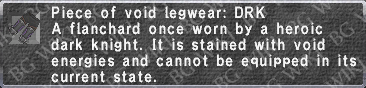
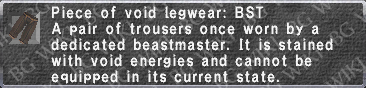
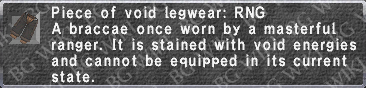
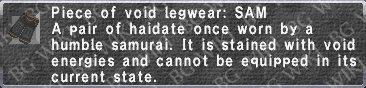
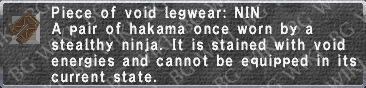
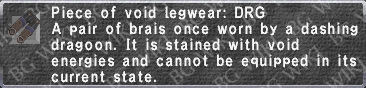
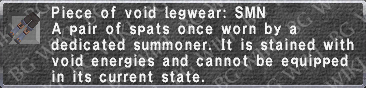
- Shard and Void items required for reforging relic armor 119 to the +2/3 variants have a rare chance of dropping from a monster of the associated job.
- However, Aurix will allow you to exchange beastman and kindred medals for them.
Aurix Currency Exchange 100 Rusted I. Cards
→
1 Beastmen's Medal
100 Black. I. Cards
→
1 Kindred's Medal
3 Beastmen's Medals→
1 Armor Shard 3 Kindred's Medal→
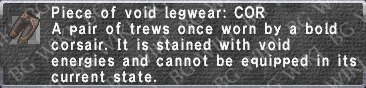
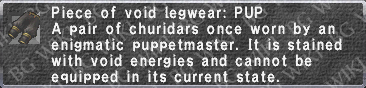
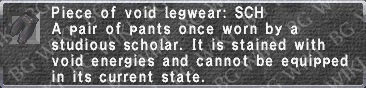
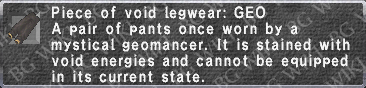
1 Void Armor 2 Shards required for upgrading Reforged Relic Armor +2
3 Shards required for upgrading Reforged Relic Armor +33 Voids required for upgrading Reforged Relic Armor +3
Reforging
- Aurix will only begin dealing with +2 and +3 Relic 119 upgrades after you have visited Dynamis - Divergence at least once.
- To upgrade Relic +2, you must simply visit the corresponding armor zone with the job you wish to unlock upgrading of the specific piece of armor for.
- Body upgrades +2 requires visiting all four zones with the job.
- To upgrade Relic +3, you must defeat the corresponding zone's mid-boss (statue) with the job you wish to unlock upgrading of the specific piece of armor for.
- Body upgrades +3 requires defeating all four zones mid-bosses with the job.
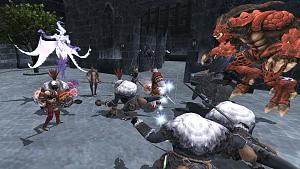
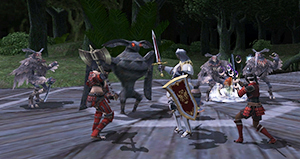
Basics
- There exists party/alliance hate. When the a party member stands too close to the puller, everyone is on the hate-list.
- Enemies are either true sight or true sound based on their typical family aggression.
- Orcs are true sight, but do not aggro by sound while Quadav are true sound, but do not aggro by sight.
- Any summoned pets (SMN, DRG, or BST) will immediately disappear once their master is defeated.
Weekly Zone Bonus
- Once per week (Earth Time) a specific zone will see a drop rate bonus to each wave's respective currency, both cards and medals.
- This also means medals may very rarely drop from normal monsters in either wave, but the rate seems to be comparable to a
 proc and drop in the old Dynamis.
 - The bonus resets after the Conquest Tally on Sundays (JP Midnight)
- Speak with Aurix in Ru'Lude Gardens to find out which zone currently has the bonus.
- When attempting to enter a bonus zone, you will receive a system message about treasure caskets being active.
- This also means medals may very rarely drop from normal monsters in either wave, but the rate seems to be comparable to a
Geomancy
- All Notorious Monsters in Divergence have a -75% resistance to all Geomancy effects.
Statues
- All statues are
 true sight and link with each other, but may be deaggroed by running far enough away while all other monsters will not deaggro, likely tracking by scent.
 - Each statue has a fixed spawn number which may vary between as low as 1 and up to as many as 6.
- Statues have different color eyes which determine the following effects of both the statue and spawned monsters:
| Divergence Statues | ||||||||||
|---|---|---|---|---|---|---|---|---|---|---|
| Zone | Eyes | Statue and Monsters | ||||||||
San d'Oria |
Blue | -75% +25% | ||||||||
| Green | -75% +25% | |||||||||
| Red | Spawns higher level Orc NMs. These NMs will have access to Orcish Counterstance. Orcish Counterstance: | |||||||||
Bastok |
Blue | -95% +30% | ||||||||
| Green | -95% +30% | |||||||||
| Red | Spawns higher level Quadav NMs. These NMs will have access to Wrath of Gu'Dha. Wrath of Gu'Dha: | |||||||||
Windurst |
Blue | Reduced damage taken from all melee damage types. | ||||||||
| Green | Reduced damage taken from | |||||||||
| Red | Spawns higher level Yagudo NMs. These NMs will have access to Doom. Doom: | |||||||||
Jeuno |
Blue | +50% damage taken. AoEs will deal -99% damage to secondary targets. | ||||||||
| Green | +20% damage taken. Resist the effects of all Enfeebling Magic including Sleep and Lullaby. | |||||||||
| Red | Spawns higher level Goblin NMs. These NMs will have access to Goblin Dice. Goblin Dice: Varies between 12 different results based on the roll. All players nearby will have their Remaining dice values vary from AoE physical or magical damage, various enfeebles, dispel, TP reset, or completely restoring the NM's HP. | |||||||||
All Zones |
Colorless |
| ||||||||
- After the zone mid-boss is defeated, all previous enemies and statues in the zone will despawn.
- New statues will appear in their place, which will spawn stronger enemies and NMs of a different title.
- These enemies will be the same job variants as the ones before them.
- These are significantly stronger than their normal counterparts with higher defense, attack, and HP.
- New statues will appear in their place, which will spawn stronger enemies and NMs of a different title.
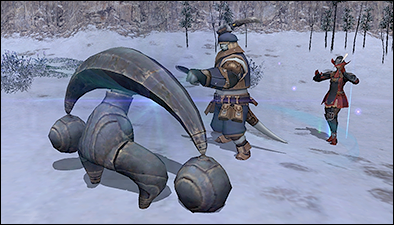
Dynamis - San d'Oria [D]
| |
| Entrance: | Southern San d'Oria (K-10) (HP #2) |
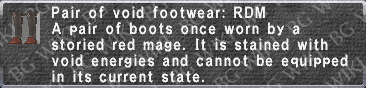
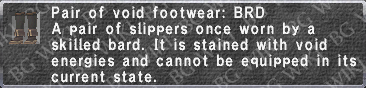
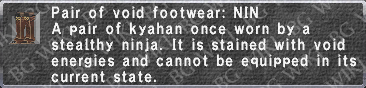
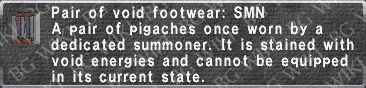
| Reforge Items: | Footshard and Voidfoot |
| Mid-Boss: | Overseer's Tombstone (Near Northern San d'Oria) |
| Boss: | Halphas (Mog House) |
|
| ||||||||||||||||||||||||||||||||||||||||||||||||||||||||||||||||||||||||||||||||||||||||||||||||||||||||||
| |||||||||||||||||||||||||||||||||||||||||||||||||||||||||||||||||||||||||||||||||||||||||||||||||||||||||||


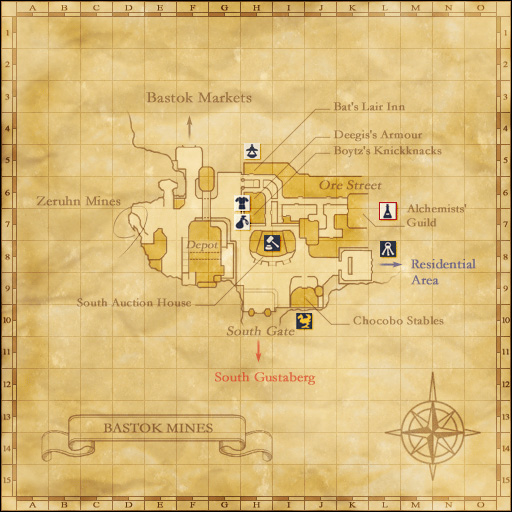
Dynamis - Bastok [D]
| |
| Entrance: | Bastok Mines (I-9) (HP #1) |
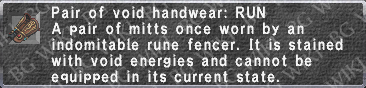
| Reforge Items: | Handshard and Voidhand |
| Mid-Boss: | Mu'Sha Effigy (Near Bastok Markets) |
| Boss: | Ka'Rho Fearsinger (Mog House) |
|
| ||||||||||||||||||||||||||||||||||||||||||||||||||||||||||||||||||||||||||||||||||||||||||||||||||||||||||
| |||||||||||||||||||||||||||||||||||||||||||||||||||||||||||||||||||||||||||||||||||||||||||||||||||||||||||


Dynamis - Windurst [D]
| |
| Entrance: | Windurst Walls (H-7) (HP #1) |
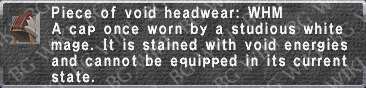
| Reforge Items: | Headshard and Voidhead |
| Mid-Boss: | Envincing Idol |
| Boss: | Fii Pexu the Eternal |
|
|
|||||||||||||||||||||||||||||||||||||||||||||||||||||||||||||||||||||||||||||||||||||||||||||||||||||||||||


Dynamis - Jeuno [D]

| |
| Entrance: | Ru'Lude Gardens (F-9) (HP #3) |
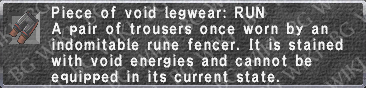
| Reforge Items: | Legshard and Voidleg |
| Mid-Boss: | Impish Golem (Palace Stairs) |
| Boss: | Obstatrix (Mog House) |
|
| ||||||||||||||||||||||||||||||||||||||||||||||||||||||||||||||||||||||||||||||||||||||||||||||||||||||||||
| |||||||||||||||||||||||||||||||||||||||||||||||||||||||||||||||||||||||||||||||||||||||||||||||||||||||||||


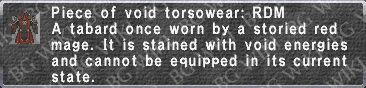
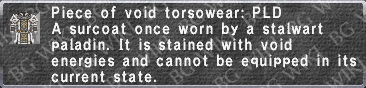
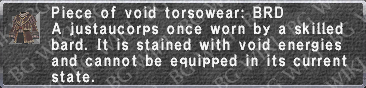
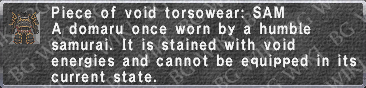
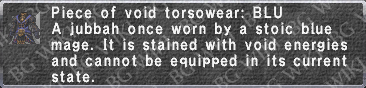
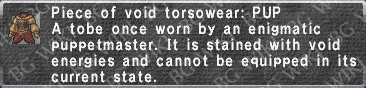
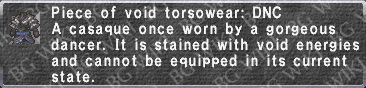
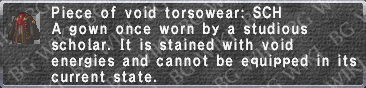
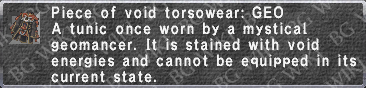
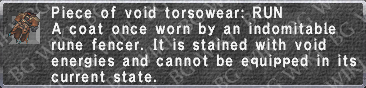
Torso, Shards and Voids
| Torso items drop in all zones. |
|---|
Torso drops are a 100% drop from a red eye NM of the corresponding job.
Torsos are a separate drop slot, and another shard or void item of that zone may also drop. |
|
| ||||||||||||||||||||||||||||||||||||||||||||||||||||||||||||||||||||||||||||||||||||||||||||||||||||||||||


Reforged Relic Sets
| Reforged Relic Armor Sets | |||||||
|---|---|---|---|---|---|---|---|
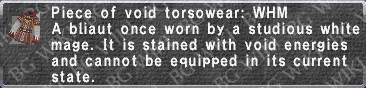
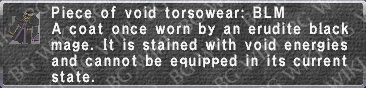
| WAR | MNK | WHM | BLM | ||||
| RDM | THF | PLD | DRK | ||||
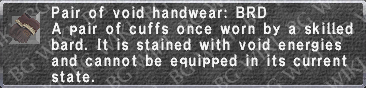
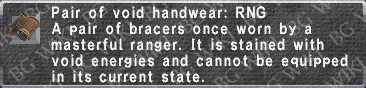
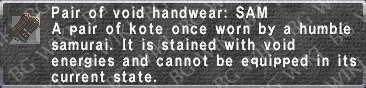
| BST | BRD | RNG | SAM | ||||
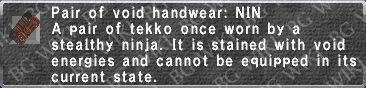
| NIN | DRG | SMN | BLU | ||||
| COR | PUP | DNC | SCH | ||||
| GEO | RUN | ||||||
| Nav: | Reforged Artifact / +1 / +2 / +3 ↔ Reforged Relic / +1 / +2 / +3 ↔ Reforged Empyrean / +1 | ||||||
Subcategories
This category has the following 10 subcategories, out of 10 total.
Pages in category "Dynamis - Divergence"
The following 41 pages are in this category, out of 41 total.
