The Voracious Resurgence | |
| Prime Weapons • Ultimate Weapons • Ultimate Augments • Abjurations iL119 • JSE Necks • Divergence Augments • Escutcheons | |
| Reforged Armor Artifact: +1 • iL109 • iL119/+2/+3 Relic: +1/+2 • iL109 • iL119/+2/+3 Empyrean: +1/+2 • iL109 • iL119/+2/+3 |
Guides • Crafting • Trusts • Apex Monsters |
Celestial Nights Guide
Event Period
| Edition | Campaign Period |
|---|---|
| 2017 | Friday, June 30 at 1:00 a.m. (PDT) to Thursday, July 13 at 7:59 a.m. |
| 2018 | Monday, July 2, at 1:00 a.m. (PDT) to Monday, July 16, at 7:59 a.m. |
| 2019 | Monday, July 1, at 1:00 a.m. (PDT) to Monday, July 15, at 7:59 a.m. |
| 2020 | Tuesday, June 30, at 1:00 a.m. (PDT) to Tuesday, July 14, at 7:59 a.m. |
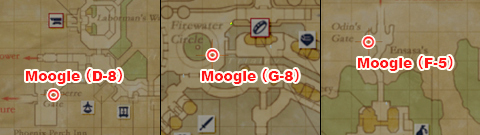
Moogle Meetings
Stop by at the following locations and say hello to our cuddly little friends for your very own invitation!
Northern San d'Oria (D-8) / Bastok Markets (G-8) / Windurst Waters (north side) (F-5)
Walkthrough
Note: The guide below is copied from previous years; there are no changes or new item rewards.
- Please use "motion" at the end of your /emotes in order to prevent chat log spam.
As with every MHMU event, mayhem ensues. And like everything else in Vana'diel, everything will fall a part if you don't pay attention to it. Your goal is to escort Prince Yahiko and Princess Amdina through the town to finish the play. But you must overcome a fickle male lead, a drama queen female lead, and several intractable floozies along the way!
- Speak to one of the Moogles at the above locations.
- Note: You can join mid-round, but you will not receive credit unless you start from the beginning with the Prince and Princess.
- Prince Yahiko and Princess Amdina will proceed through the city at the locations listed below.
- In Northern San d'Oria they spawn at (F-5) and travel a circuitous route to (F-7).
- In Bastok Markets they spawn at (E-11) and travel to (J-9).
- In Windurst Waters they spawn at (F-7) / (G-7) and walk in a circle around the zone back to their spawn spots.
- The Prince and Princess will stop at specific intervals to either deliver lines, or for the Princess to think out loud.
- When she is thinking, her thoughts will be in parenthesis, (Like this).
- When the Princess has positive thoughts, nod at her with the /yes or /nod emote to encourage her.
- When the Princess has negative thoughts, shake your head with the /no emote to get her to dismiss them.
- The Princess will occasionally backtrack to the previous dialog point.
- When she is thinking, her thoughts will be in parenthesis, (Like this).
- The floozies Loaranne, Hiltrude, and Mihn Rhettorah (in Northern San d'Oria, Bastok Markets, and Windurst Waters respectively) will appear in random spots (and multiple times in each procession), they will try to distract the Prince. If they succeed multiple times, it will end the performance.
- You can use the /wave emote to get the attention of a floozie and she will look in your direction. You can use this to turn her so that she will not aggro the Prince as he walks by.
- She will eventually lose interest in you, she may turn back and aggro the Prince.
- This requires at least one other player and very good timing. Her aggro distance is hard to judge, and she only pays attention to you for a couple seconds. If you time waves with another player, it works well.
- Should the floozie walk up to the Prince, spam the /slap emote on the Prince to get him back on course. The floozie can run up to him every time, but as long as you slap him you can still finish the course.
- Even if she walks up multiple times while they are walking on the path, just keep slapping him so he continues. She will probably walk up every time she sees him, even if you wave at her in time.
- You can use the /wave emote to get the attention of a floozie and she will look in your direction. You can use this to turn her so that she will not aggro the Prince as he walks by.
- When you reach the end of the procession, speak to Princess Amdina to receive your reward.
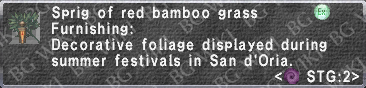
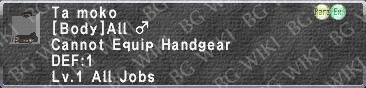
Rewards
| Celestial Nights Rewards | |||
|---|---|---|---|
| Item | Notes | ||
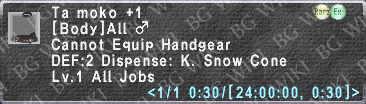
|
| ||

|
| ||

|
| ||
  or
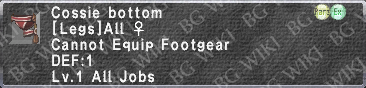
|
| ||
  or 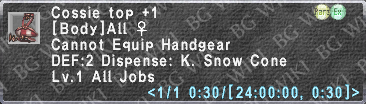 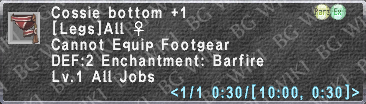
|
| ||
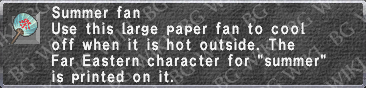
| Random number (observed values between 5 and 25) of:
|
| ||


Sold By Moogles
Moogles selling items from previous years Celestial Nights as well as the Sunbreeze Festival are located at:
- Northern San d'Oria (D-8), Bastok Mines (H-8), and Windurst Waters (North) (G-10).
| NQ Swimsuits | |||||
|---|---|---|---|---|---|
| Male | Female | Cost (Gil) | Male | Female | Cost (Gil) |
Hume Gilet
|
Hume Top
|
5,000 | Elvaan Gilet
|
Elvaan Top
|
5,000 |
Tarutaru Maillot
|
Tarutaru Top
|
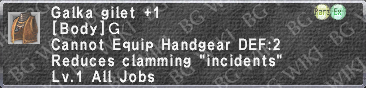
5,000 | Galka Gilet
|
Mithra Top
|
5,000 |
Hume Trunks
|
Hume Shorts
|
5,000 | Elvaan Trunks
|
Elvaan Shorts
|
5,000 |
Tarutaru Trunks
|
Tarutaru Shorts
|
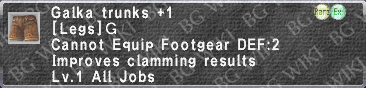
5,000 | Galka Trunks
|
Mithra Shorts
|
5,000 |
Custom Gilet
|
Custom Top
|
5,000 | Magna Gilet
|
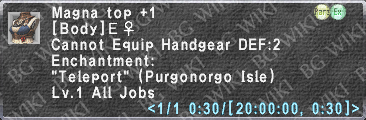
Magna Top
|
5,000 |
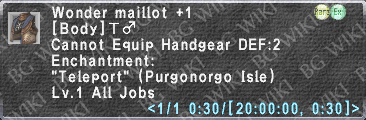
Wonder Maillot
|
Wonder Top
|
5,000 | Elder Gilet
|
Savage Top
|
5,000 |
Custom Trunks
|
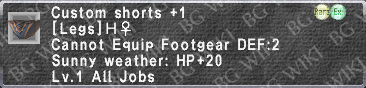
Custom Shorts
|
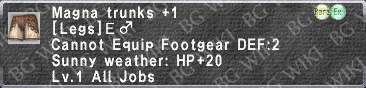
5,000 | Magna Trunks
|
Magna Shorts
|
5,000 |
Wonder Trunks
|
Wonder Shorts
|
5,000 | Elder Trunks
|
Savage Shorts
|
5,000 |
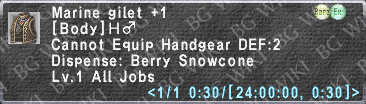
Marine Gilet
|
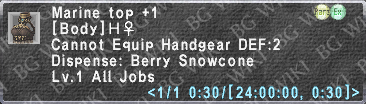
Marine Top
|
5,000 | Woodsy Gilet
|
Woodsy Top
|
5,000 |
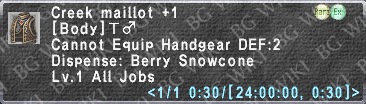
Creek Maillot
|
Creek Top
|
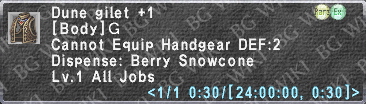
5,000 | Dune Gilet
|
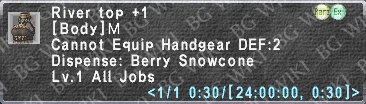
River Top
|
5,000 |
Marine Boxers
|
Marine Shorts
|
5,000 | Woodsy Boxers
|
Woodsy Shorts
|
5,000 |
Creek Boxers
|
Creek Shorts
|
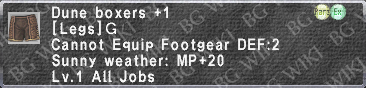
5,000 | Dune Boxers
|
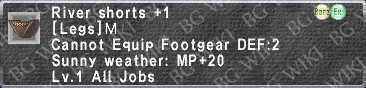
River Shorts
|
5,000 |
Rustic Maillot
|
Shoal Maillot
|
5,000 | Rustic Trunks
|
Shoal Trunks
|
5,000 |


| Far Eastern Robes | |||||
|---|---|---|---|---|---|
| Male | Female | Cost (Gil) | Male | Female | Cost (Gil) |
Onoko Yukata
|
Omina Yukata
|
2,500 | Lord's Yukata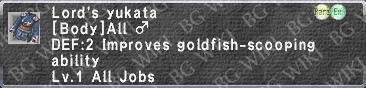
|
Lady's Yukata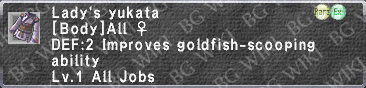
|
3,750 |
Otoko Yukata
|
Onago Yukata
|
5,000 | Otokogimi Yukata
|
Onnagimi Yukata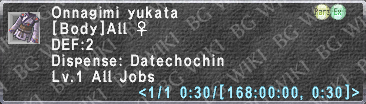
|
7,500 |
Otokogusa Yukata
|
Onnagusa Yukata
|
10,000 | Otokoeshi Yukata
|
Ominaeshi Yukata
|
12,500 |
Hikogami Yukata
|
Himegami Yukata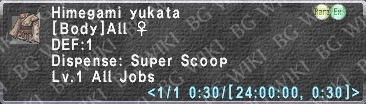
|
15,000 | Kengyu Happi
|
Shokujo Happi
|
15,000 |
Kengyu Hanmomohiki
|
Shokujo Hanmomohiki
|
15,000 | |||
