The Voracious Resurgence | |
| Prime Weapons • Ultimate Weapons • Ultimate Augments • Abjurations iL119 • JSE Necks • Divergence Augments • Escutcheons | |
| Reforged Armor Artifact: +1 • iL109 • iL119/+2/+3 Relic: +1/+2 • iL109 • iL119/+2/+3 Empyrean: +1/+2 • iL109 • iL119/+2/+3 |
Guides • Crafting • Trusts • Apex Monsters |
Community Scholar Guide
|
General Information
Scholar can be used to buff, debuff, free nuke and magic burst. It excels in the use of enhancing magic and also in creating solo skillchains. The use of this job in any major endgame linkshell or party is highly dependant upon the group and the target at hand. Scholar is also good at enfeebling several mobs at one time with the use of the job ability manifestation. It also receives a mag.acc bonus with the use of focalization for more resistant foes. The job is one of the greatest solo jobs to ever exist in FFXI. Through the use of solo skillchains and helix spells coupled with high magic burst dmg. with storm enhancing effects and klimaform and also its ability to kite out mobs makes this one of the most rewarding yet highest skill capped jobs in the game.
Roles
Support mage/Utility mage.
Abilities and Traits
<Job traits and abilities here>
Merits
<Write about merit choices, job points too if you want>
Support Jobs
<Write about sub choices>
Equipment
<Write about gear here, Template:Equipment Set>
The following sets are derived from Ruaumoko's Scholar Guide.
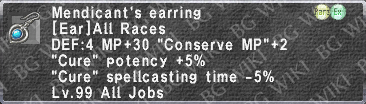
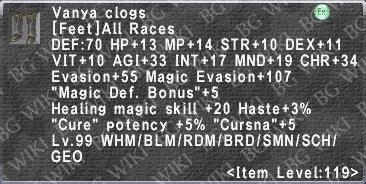
Healing gear
|
|


- Body takes Path D
- Legs take Path A
- Feet take Path B
- Hood takes Path C
You will eventually want to upgrade to the Raetic Rod +1.
Bolelabunga can be swapped in when applying Regen.
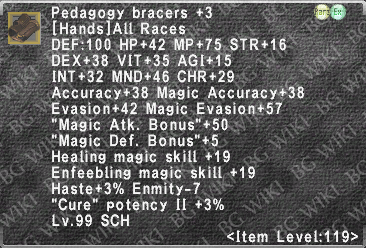
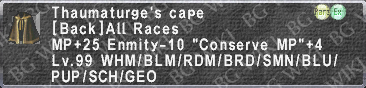
DD Gear
|
|


- Akademos takes Path C
- Jubbah takes M.Acc., MAB and MBD.
- Cape takes INT, MAB, Acc/Dmg
- Hands take Path D
