- Due to the long nature of this mission, it is recommended that you take precautions to ensure that you have received the key items. This mission can take a while, as it requires travel to a lot of different places, some in the far corners of large and dangerous zones. Always ensure that when checking a headstone you receive the message that you obtained the key item.
- If you are too far away the game can give you the message, "You need to move closer to key item" and at a quick glance this can appear the same as you acquiring it. Be sure to double check.
- There are two types of headstones, one type only gives the key item, others spawn NMs that you must defeat before you may receive the key item.
- Several headstones are close to Cloister home points, it's recommended to grab those on the way if you haven't unlocked them yet.
Non-fights
Dark Fragment:
Earth Fragment:
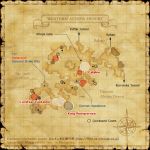 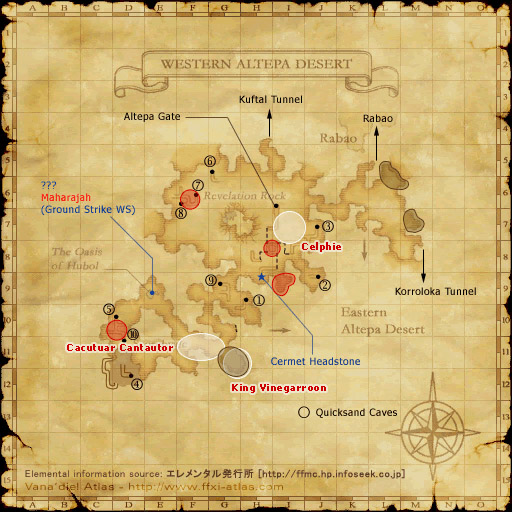
Western Altepa
|
 
Quicksand Map 3
|
- Proceed to (J-9) in Western Altepa Desert, and enter the Quicksand Caves (Map 3).
- Head to (K-6) and fall down the sandpit.
- Follow the pathway until you exit back out to Western Altepa Desert.
- Unity warp 125 Western Altepa Desert will land you within this area cutting out the need to go through Quicksand Caves.
- From the Unity Warp:
- Turn around and walk into the crevasse (this cannot be accessed from the outside but the Unity Warp puts you on top of the stone that you cannot normally walk onto.)
- Follow the path, turning right at the fork until you come to a plunger-looking statue (Ruby Column). Press it down if it is up to continue.
- Go through the open door near the end of this path and follow it until you exit out at the square shaped crevasse.
- Turn left and enter the first open door. When you exit again the headstone is located in this section.
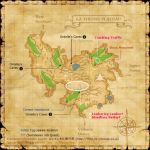
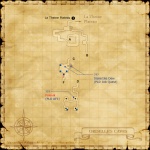
- Move in a southwesterly direction towards (H-8)/(H-9) to locate the Cermet Headstone. Examine it to receive the
 Earth fragment. Earth fragment.
Water Fragment:
 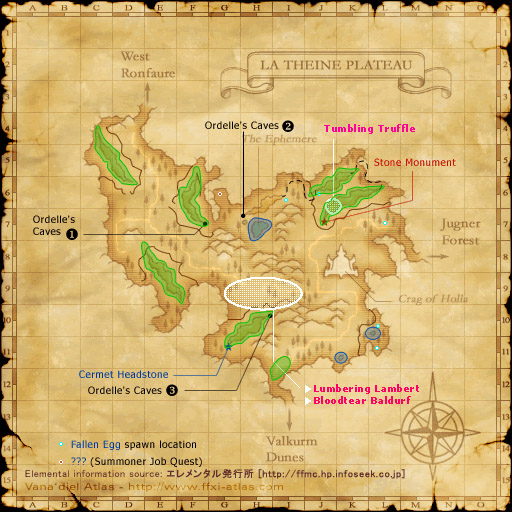
La Theine Plateau
|
Ordelle's Map 2
|
Ordelle's Map 1
|
 
Ordelle's Map 3
|
- Proceed to La Theine Plateau and enter Ordelle's Caves around (F-7), alternatively you can use Survival Guide to get here. This places you on Map 2.
- Follow the path east to (I-6) and you'll switch to Map 1. (East according to map, so left from where you enter.)
- Continue down the tunnel to (G-8).
- From there, go east and enter the south tunnel around (H-9).
- Head up the stairs and south until you reach the hole that is at the southside of (H-11), at the transition between (H-11) and (H-12).
- Go east to another tunnel (E, Map 3), taking special care not to fall off the cliffs, and head up.
- Once you get to about (I-6), go south.
- Continue on until (H-9) and you'll see a tunnel going west, the zone is not far ahead, bringing you back out to La Theine Plateau.
- If you don't have the Geomagnetic-Fount, it will be on the right on a ledge after zoning to the Plateau. Get close to it and interact with it from below to register it.
- The Cermet Headstone is not too far ahead. Examine it to receive the Water fragment.
Ice Fragment:
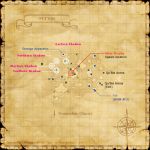 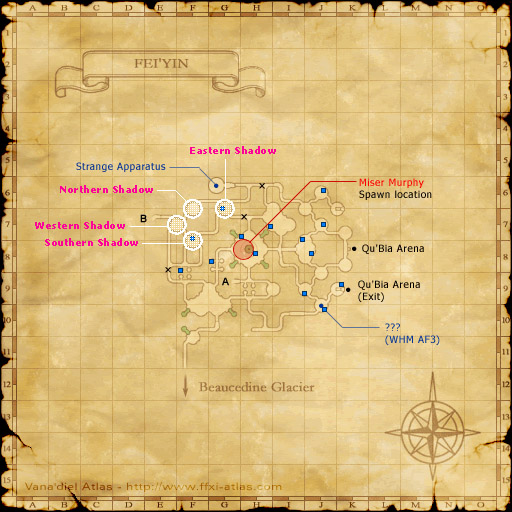
Fei'Yin Map 1
|
 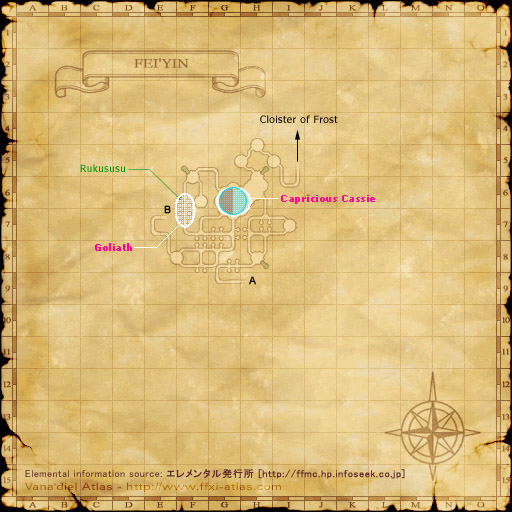
Fei'Yin Map 2
|
- Make your way to the Cloister of Frost in the basement of Fei'Yin. The Cermet Headstone is in the back of the room. Examine it to receive the Ice fragment.
- Fei'Yin Homepoint #2 is right outside the Cloister, if you already have it.
- A level 20+ Summoner can start Trial-Size Trial by Ice to be teleported to the Cloister. Don't forget to step outside and grab Fei'Yin Homepoint #2 for later use, especially if you are completing the Trial-Sized quest.
Fights
- Fire Fragment:
- Alternatively: This is long overall. If you have a confident White Mage, allow them to go through Ifrit's Cauldron alone.
- In Yuhtunga Jungle, you'll find a one-way drop (the reason you have to run through the Cauldron in the first place). Have your entire party wait there for the WHM (who should sub BLM for this). Once the WHM is through, the rest of the party can commence suicide using various mobs in the area.
- The WHM can then Tractor people over the ledge, and thus avoiding most of the hassle of applying Sneak and Invisible to people through the whole Cauldron.
 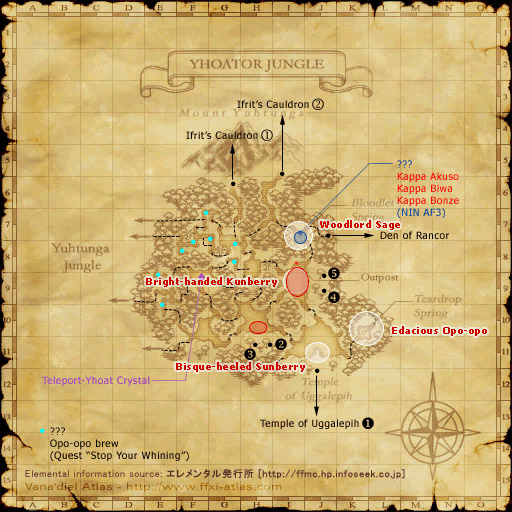
Yhoator Jungle
|
 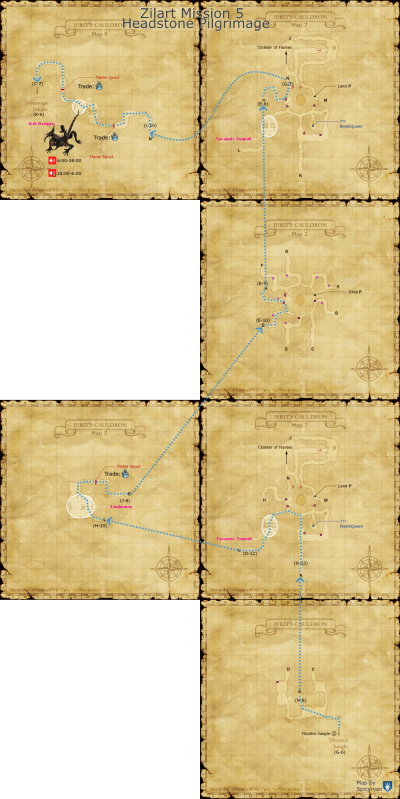
Cauldron Path
|
Yuhtunga Jungle
|
- Enter Ifrit's Cauldron from (G-6) in Yhoator Jungle.
- Alternatively take the Survival Guide warp if you've unlocked it to get to this entrance.
- When you enter, you'll be on Map 4. Head for (H-8) and through the middle exit, and you'll end up on Map 7.
- From Map 7, hug the left wall and head out the exit at (D-12) to continue to Map 5.
- On Map 5, head for (J-8), the only other exit, to get to Map 2. There is a Flame Spout around (H-6)/(H-7). Either wait it out, or trade an Ice Cluster. Waiting it out is safer, but can take extra time.
- On Map 2, run to (E-7) while hugging the left wall, and you'll be back on Map 7. Do not accidentally take the drop that is to the north of the tunnel at (G-8).
- On Map 7, make hug the left wall on your way to (G-7) to enter Map 8. Do not accidentally take the drop slightly to the right.
- On Map 8, follow the tunnel to (C-7). This is the exit to Yuhtunga Jungle. There are two Flame Spouts on the way.
- Near the exit to Yuhtunga Jungle, you may run across the Ash Dragon. Your party is likely not able to take it if you are level 75, so be careful.
- During daytime hours (06:00 to 18:00), it's only aggressive to sound. During night time, however, it is True Sound.
- Take care when passing it, as it will mostly likely spell a wipe for your party.
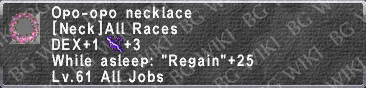
- Once outside, gather everyone up and head for the tunnel under the waterfall at (K-7). The headstone is located around (L-6)/(L-7). Check the Cermet Headstone to spawn two Opo-opo NMs, Carthi and Tipha.
- They will both aggro through sneak and cannot be slept, but are susceptible to gravity and bind.
- Defeat both Opos and check the Cermet Headstone again to receive the Fire fragment.
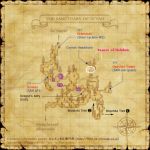
Lightning Fragment:
Behemoth's Dominion
|
- Travel to Behemoth's Dominion (G-9).
- Unity Warp Level 135 will be the fastest way to get here.
- Clear the area of mobs and check the headstone to spawn two Weapon NMs: Legendary Weapon (BLM/RDM) and Ancient Weapon (WAR).
- It is possible to fight only one of the NMs, by using the Sneak-pull method. Sneak one member, pull one of the NMs and wait for the other to de-pop. Defeat the original and proceed.
- Both are susceptible to Bind and Gravity, but not sleep or silence.
- Both will use their 1-hour abilities around 50%.
- Legendary Weapon will use Manafont and begin casting back-to-back.
- Casts Diaga 2, Paralyze, Silence, Slow, Gravity, Cure IV, Protect/Shell, etc.
- Either can be defeated solo at level 75 with DoT and occasional nukes while kiting it around the King Behemoth spawn area.
Wind Fragment:
 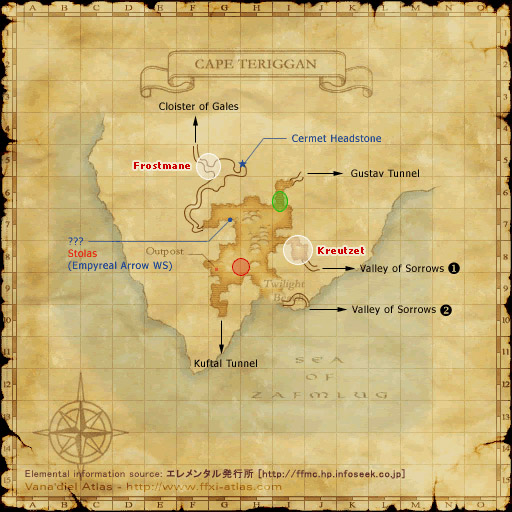
Cape Teriggan
|
- Consider taking a
 Rain Lily with you on this part of the mission. Trading it to the headstone will earn you a Rain Lily with you on this part of the mission. Trading it to the headstone will earn you a  Flagellant's Rope Flagellant's Rope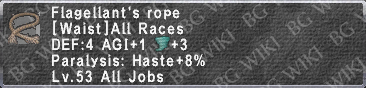 . .
- You need to take the Wind Fragment FIRST before doing this.
- Start off for Cape Teriggan, both the Home Point and Unity Warp 128 let out close to the Cermet Headstone.
- Head for (F-7) and locate the unmarked hidden tunnel (it is in the same general area as the tunnel to get to the Cloister of Gales).
- Go north until you come out into another open area, taking another hidden tunnel at (G-5).
- Follow it until (H-5), where the headstone is located.
- Check the headstone to pop a Shadow NM named Axesarion the Wanderer.
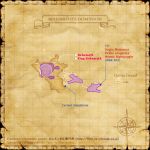
Light Fragment:
 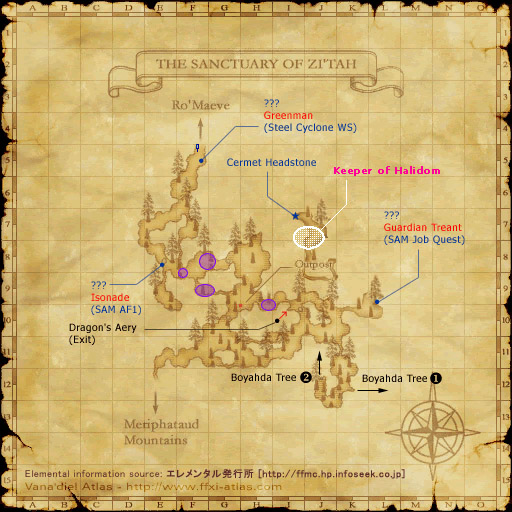
The Sanctuary of Zi'Tah
|
- Upon obtaining the final fragment, you will receive the message, "You now have all 8 fragments of light!" and the mission will be complete.
|