The Voracious Resurgence | |
| Prime Weapons • Ultimate Weapons • Ultimate Augments • Abjurations iL119 • JSE Necks • Divergence Augments • Escutcheons | |
| Reforged Armor Artifact: +1 • iL109 • iL119/+2/+3 Relic: +1/+2 • iL109 • iL119/+2/+3 Empyrean: +1/+2 • iL109 • iL119/+2/+3 |
Guides • Crafting • Trusts • Apex Monsters |
THA:CSMNG-Equipment2
|
|
|
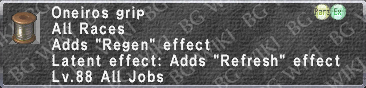


Refresh: 10~11/tic resting; 9~10/tic w/Avatar
Skill: +81 (537Total) ⇒ Favor: 512Tier+4
Perp: -19 (-14cap)
- Converted HP: +230
- DT: -3%
- Accuracy: +183
- Haste: +24%
- "Double Attack": +15%
- Regain: 25/tic
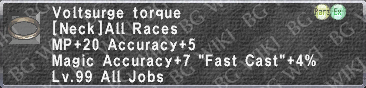
I've always been a proponent for idling in Caller's Pendant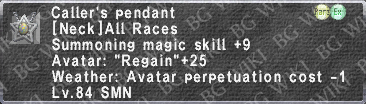 , because the regain has always "charged up" your magical Blood Pacts. But now that Physical Blood Pacts also consume TP[1], it's an even more important effect to have. So don't use some other necklace! The regain from Caller's Pendant is just too important, even more so now!
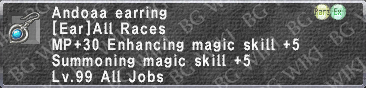
The reason for Evans Earring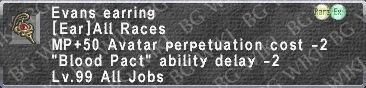 and Speaker's Ring
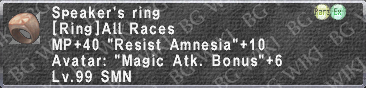 is simple: there's not a whole bunch else. Etiolation Earring
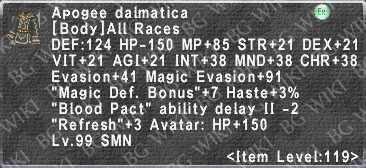
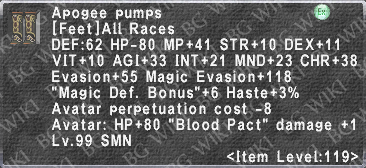
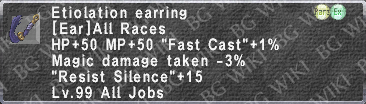 is a decent option, it matches Evans' for the most MP available in that slot... with a touch of MDT to boot! So if your Moonshade is taken, it would make a good replacement. (And it has a chunk of HP bonus to help mitigate Apogee's substantial bite out of yours.) And if you can't get one of those, your best alternative to a Moonshade is probably Enmerkar Earring
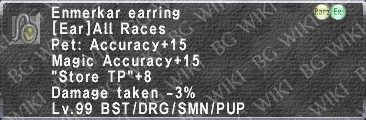 . Accuracy and "Store TP" all in sizeable amounts and all in one slot? Superb. And now that Physical BPs can't charge up your TP[2], that Store TP became much more worthwhile. It even has a touch more of DT on top of all that.
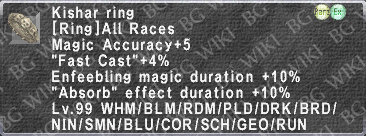
If you have the money for it, a Stikini Ring +1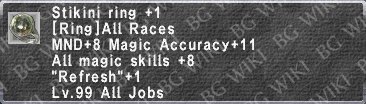 would be best in lieu of Speaker's. But any large MP ring would be better than the NQ Stikini
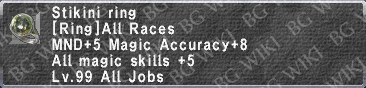 . There's so many to choose from, anything with ≥40 MP would work. I chose to use Speaker's because... Resist amnesia. It's not much... but it's something at least. Plus, unlike some of the larger MP rings, Speaker's doesn't reduce your already paltry HP further than it already is being reduced thanks to Apogee. I wouldn't recommend Thurandaut Ring
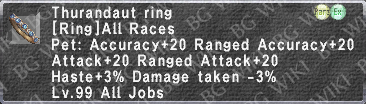 for your Adoulin Ring choice... as there are better options, dependent on the other jobs you may have. But if you're also a PUP and/or BST, you'll probably want that one, so use it here too.
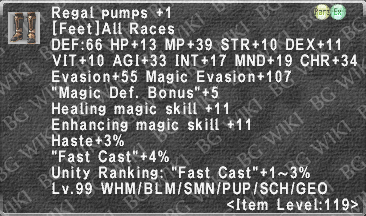
The new Tali'ah Crackows +1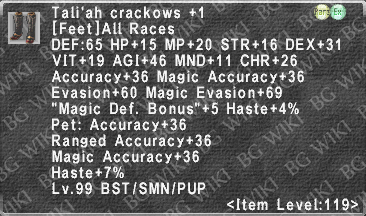 are a very tempting piece to have here. Large Haste and massive Accuracy, both for your Avatar and you! But... they kinda only work if you have a Nirvana
 . What I mean by that is, in order to maintain perp with this set, a Nirvana owner has exactly -14, the cap, without Apogee Pumps.
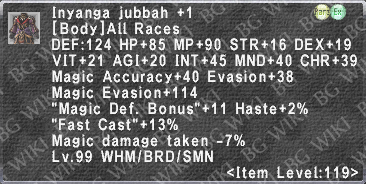
But someone with only a Gridarvor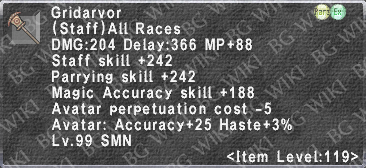 will find themselves struggling a little to find the perp and maintain the above skill and refresh all at once. But there are almost equivalent items. For the cost of 1MP/tic, you can cap perp with a well augmented Hagondes Coat +1
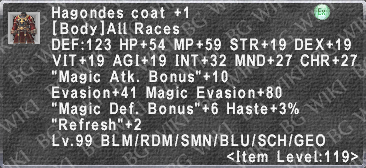 . You'll need at least a -3 for a perp augment, which Hagondes can get up to -5.
Perhaps with the RF2~3+3s that are on the way, there will be a set up with them that favors a Gridarvor owner more, but until we see, just slip the Crackows for now. Furthermore, the Nirvana owner benefits the most from the Haste, as with the set above, they would only have 21%.
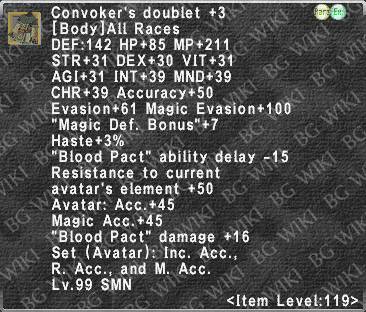
You may be tempted by the RF1+3 pieces of Convoker's Horn +3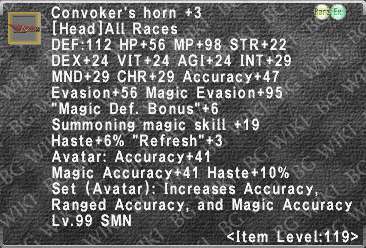 and Convoker's Bracers +3
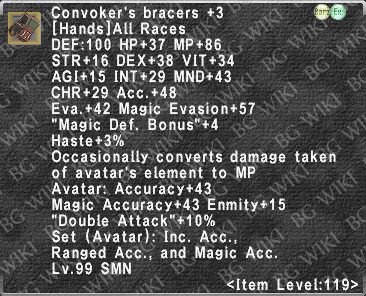 ... but Truth be told, they aren't really worth the excess inventory and loss of Favor tiers. Sure Favor may not be a huge boon, but 512+4 is currently the second best you can do... and dropping 3~4 levels of Favor just for a minimal increase in the already pathetic white damage... Not worth the bother of devoting Omen time for it.
However, if you're a Nirvana owner, the Convoker's Bracers +3 offers similar accuracy as Glyphic Bracers +1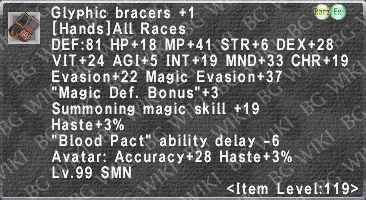 as well as giving the Nirvana owner almost as much Double Attack as the Gridarvor.
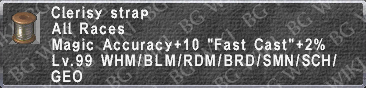
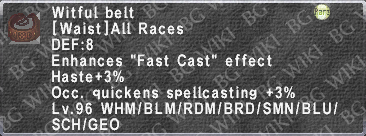
Fast Cast Set
"Fast Cast": +66% (80%Total) |
"Fast Cast": +56% (80%Total) |
"Fast Cast": +41% (80%Total) |

Here is where I'm going to be the most demanding of you.... For I'm going to ask that you... do simple arithmetic. Because, as you can see, I have not given you an example of a FC set for /WHM or /SCH. This is namely because, just look at /RDM's set.
There's essentially only four open spaces (which makes you lose the Impatiens's protection and "Quick Magic"+2%), and all four are only going to give you FC+2% at most each. Which means that even with the four FC items for those slots: Magavan Mitts
/Repartie Gloves
, Enchanter Earring +1
, Prolix Ring
/Rahab Ring
, and Sapience Orb
; you're only going to have 74% "Fast Cast" on /WHM and /SCH. This is one of the many reasons why I personally prefer /RDM over those, but feel free to work with whichever subjob you feel the most comfortable using. And also, at 74% FC, your summons will take just slightly under 2s to summon... so... not that different from /RDM's 1.4s.
And as mentioned above, if for some reason you can't get a Grioavolr
, Nibiru Staff
has the same "Fast Cast" and is much easier to come by.
As you can see, 5/5 Casting Time Merits really frees up a LOT of space in this set. And /RDM in addition to that allows you the most freedom of gear. Ideally, you will want to fill any open spaces with "Quick Magic" options. A popular choice for Adoulin Rings is one such option: Weatherspoon Ring. Not only does it have "Quick Magic", but it also has the most FC available in the ring slot. Furthermore, Weatherspoon is one of the best Adoulin Rings because of how ubiquitously helpful it is for so many jobs. Even SMN doubly benefits from it, as not only is it an ideal piece for your FC set... but as it is one of the only nonstaff sources for
Magic Affinity, it is a powerful ring choice for Summoner's Mythic Weapon Skill: Garland of Bliss. This is because the
Weapon Skills.
Another good thing about most of these pieces are that should you be a RDM/SCH/GEO that stuns, much of these sets you'll be after as things like Amalric Coif
and Psycloth Lappas
are "Best in Slot" for Stun due to their high "Fast Cast" and Magic Accuracy stats.
Blood Pact Delay Set
|
|

Skill: +107 (563Total ⇒ 512Tier+4) ⇒ -8sFavor
BPdelayI: -21s (-15scap)
BPdelayII: -6s
BPdelayIII: -10s
- Total: -38s
You might be wondering why I put so much skill here, it's very simple: When you hit 2000JP, you'll get an extra 13 skill. Which will bring the total skill in this set up to 576, making the total Favor tier: 575+4, the current maximum. Now you may be wondering why I posit to do this. Especially when I have made no qualms about pointing out that the last two Favor tiers don't reduce delay by 2s. So a tier of 512+3 = 575+4, any more tiers currently will not reduce delay further. However, with the RF+2~3s on the way... it's very likely that Beckoner's Horn +3 will increase total Favor tiers to the point where the maximum -10s becomes available. Furthermore, it's been discovered that there is a higher skill tier at 670... However, with current gear, reaching that skill level... as well as keeping BPdelay capped... as well as using Beckoner's Horn +1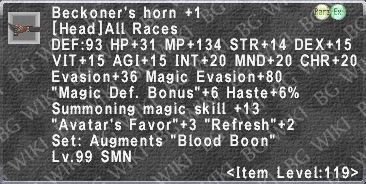 to overcharge Favor with +4 more tiers... is not possible.
And with that being said, a 670+1 tier is only equal to 512+3. Which is 2 less skill tiers than 575+4. But who knows what the future holds, we will possibly need that 670 skill to cap the promised -10s delay, but for now, this is the best we can do.
You may have also noticed that I don't use either the grip slot, nor the back slot to reach "575". The grip is because a Nirvana owner may be using this guide, and losing their AM3 from swapping grips would be a bad idea... and if you're really serious about SMN... Nirvana should be what you aspire to.
As for the back slot... some people think that deleveling your avatar (from removing Campestres's Cape ) is no big deal. I disagree. While it's not the pathetic amount of HP loss that is damning... it's the DEF, Evasion, and Magic Evasion loss that hurt. And honestly... why tempt fate? It seems rather dumb to lose a level when you don't have to.
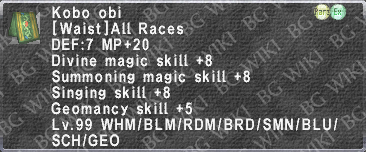
Finally, as with the Alexander Set, Lucidity Sash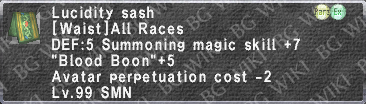 makes a good replacement as it only has 1 less skill... Should you be unable to have a group that is able to beat Seiryu in Escha Ru'Aun, Lucidity Sash's NM is fairly easy to "solo" on SMN.
