General Information
- Released during Rise of the Zilart
- Physical DPS Job, generally fast paced/spammy job.
- Pet job, but pet is more just a buff for you vs other pet jobs.
- Several Enmity reduction Jumps make sure you're rarely (if ever) at the top of the hate list.
Roles
Abilities, Traits, Merits and Job Points
Abilities and Traits
Merits
| Group 1
|
| Name
|
Description
|
Notes
|
Investment
|
| Ancient Circle Recast
|
Shorten recast time by 10 seconds.
|
Not worth the shortened duration.
|
0/5
|
| Jump Recast
|
Shorten recast time by 2 seconds.
|
Jump or High Jump to 5/5.
|
0/5~5/5
|
| High Jump Recast
|
Shorten recast time by 4 seconds.
|
Jump or High Jump to 5/5.
|
0/5~5/5
|
| Super Jump Recast
|
Shorten recast time by 6 seconds.
|
While the shortened recast is nice, between High Jump's reduction and this on a base cooldown a DRG should never be pulling hate.
|
0/5
|
| Spirit Link Recast
|
Shorten recast time by 3 seconds.
|
More uptime on Healing your Wyvern means better damage and survivability, worth the 5/5.
|
5/5
|
| Group 2
|
| Name
|
Description
|
Notes
|
Investment
|
| Deep Breathing
|
Enhances effect of next wyvern breath.
Recast: 5min. Enhance effect by an additional 10%.
|
You can max a heal from your wyvern breath almost without needing this, take to 1 if you want, otherwise leave at 0
|
0/5~1/5
|
| Angon
|
Expends an angon to lower an enemy's defense.
Recast: 3min. Increase defense down duration by 15 seconds.
|
Very good Defense Down ability with high success rate, at least 4/5
|
4/5~5/5
|
| Empathy
|
Copies beneficial status effects to wyvern when using Spirit Link.
Increase number of copied effects by 1 and experience points obtained by 200.
|
Used to level your wyvern up, definitely take to 5/5 for max benefit from Spirit Link. Transfering buffs is also a nice bonus to wyvern survivability with stuff like Regen V, Protect V, and Phalanx II.
|
5/5
|
| Strafe
|
Increases accuracy of wyvern breath.
Increase accuracy by 5.
|
Not worth using, leave at 0
|
0/5
|
Job Points & Gifts
| Job Points
|
| Job Point Category
|
Effect
|
Total Value
|
| Spirit Surge Effect
|
Increases the DMG value of weapons while under the effect of Spirit Surge.
|
20
|
| Fly High Effect
|
Increases the physical attack of all jumps while under the effects of Fly High.
|
100
|
| Ancient Circle Effect
|
Reduces the amount of damage taken from dragons while under the effects of Ancient Circle.
|
20
|
| Jump Effect
|
Increases the physical attack of Jump and Spirit Jump.
|
60
|
| Spirit Link Effect
|
Reduces caster's HP consumption when Spirit Link activates.
|
20%
|
| Wyvern Max HP Bonus
|
Increases the maximum HP of wyverns.
|
200
|
| Dragon Breaker Duration
|
Increases the effect duration of Dragon Breaker.
|
20s
|
| Wyvern Breath Effect
|
Increases the effect of wyvern breath.
|
200
|
| High Jump Effect
|
Increases the attack of High Jump and Soul Jump.
|
60
|
| Wyvern Attr. Increase Effect
|
Increases the master's physical attack and defense when the wyvern's attributes are boosted.
|
40
|
| Gifts
|
| Gift Category
|
Description
|
Value
|
| Physical Accuracy Bonus
|
Increased physical and ranged accuracy
|
64
|
| Physical Attack Bonus
|
Increased physical and ranged attack
|
70
|
| Physical Defense Bonus
|
Increased physical defense
|
70
|
| Physical Evasion Bonus
|
Increased physical evasion
|
36
|
| Magic Accuracy Bonus
|
Increased magic accuracy
|
36
|
| Magic Evasion Bonus
|
Increased Magic Evasion
|
36
|
| Wyvern Phys. Acc. and Eva. Bonus
|
Increases wyvern physical accuracy and evasion
|
70
|
| Wyvern Mag. Acc. and Eva. Bonus
|
Increases wyvern magical accuracy and evasion
|
65
|
| Critical Damage Bonus
|
Increased critical damage dealt
|
8%
|
| Capacity Point Bonus
|
Increased Capacity Points Earned
|
320%
|
| Milestone Gifts
|
| Superior 1 (50)
|
Enables the player to equip items marked as Superior 1 (Su1)
|
| Superior 2 (100)
|
Enables the player to equip items marked as Superior 2 (Su2)
|
| Wyvern Attribute Increase Effect (100)
|
When the wyvern's attributes are boosted, grants a chance for the master to attack twice.
Increases chance of attacking twice by 1% for each time attributes are boosted.
|
| Superior 3 (500)
|
Enables the player to equip items marked as Superior 3 (Su3)
|
| Wyvern Mag. Acc. and Eva. Bonus (500)
|
Increases wyvern magic accuracy and evasion by 10.
|
| Restoring/Smiting Breath Delay (550)
|
Reduces the recast delay of Restoring Breath and Smiting Breath by 10 seconds.
|
| Superior 4 (1200)
|
Enables the player to equip items marked as Superior 4 (Su4)
|
| Wyvern Attribute Increase Effect (1200)
|
When the wyvern's attributes are boosted, grants a chance for the master to attack twice.
Increases chance of attacking twice by 2% for each time attributes are boosted.
|
| Superior 5 (2100)
|
Enables the player to equip items marked as Superior 5 (Su5)
|
| ★Master! (2100)
|
Reduces the recast of Spirit Surge and Fly High
|
Support Jobs
 Samurai Samurai
This will be the standard go-to subjob for a DRG using a Polearm. Hasso JA haste is invaluable for 2-handers and Meditate is always nice. Traits of Store TP and Zanshin are added bonuses to keep TP flowing for more WS spam.
|
 Warrior Warrior
Subjob choice when using Naegling with no offhand for Fencer bonus. Berserk and Warcry are nice attack buffs added on top. Wyvern gives you some JA haste so you're not stuck at 70% like most single wield.
|
 Ninja Ninja
For same reason as WAR, using a Naegling, however /NIN gives you the option to offhand a Kraken Club for some obscenely fast TP gain. You could /DNC as well, not much difference for DRGs purpose aside from /NIN means you don't have to worry about Samba uptime.
|
 Blue Mage Blue Mage
The Solo Defensive Wyvern pick. Gives you access to Defensive wyvern while also giving you some OK utility spells to keep yourself going. Cocoon is a nice little defense boost, and with some ML you gain access to Magic Fruit, which is a good cure option. Low cost spells like Foot Kick make it easy to slow the MP drain while getting your Wyvern to toss out heals. /WHM and /RDM could also be argued as useful for this position, but I feel /BLU gives the most utility.
|
|
Weapons
Non-PREMA
Various Weapons you can use Pre-PREMA polearm. Will also throw in some blunt/slashing options that are commonly used or should be picked up.
Polearm
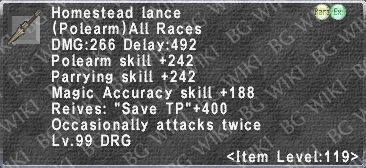
- Homestead Lance
 : Likely the first Polearm you pick up at 99/119. Decent to start, will want to replace quickly with following options.
- Rhomphaia
 : Easiest pickup after Homestead Lance (usually). Not great, but works to start with. Augment Path A (Or B if you need ACC).
- Obtained as a drop from Hanbi or purchased from Zurim for 200 Domain Invasion Points.
- Reienkyo
 : Decent early non-PREMA option, downside is the RNG game you have to play trying to augment with Oseem. It's not recommended going out of your way to get one, but if you have you and some stones you want to throw at it, STR/Accuracy/Attack/Double Attack is the Augment you're looking for.
- Obtained as a drop from Strophadia or purchased from Zurim for 800 Domain Invasion Points.
- Geirrothr
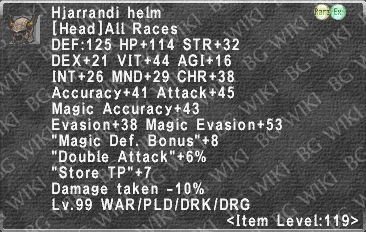
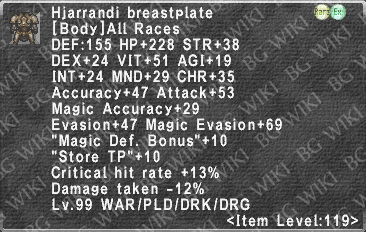
 : Great option if you get it to drop while trying to farm for a Hjarrandi Breast. or Hjarrandi Helm. So augments required, boosts jump, and less you play looser with haste in your sets due to the 7% on the weapon. Good to use till a PREMA weapon if you have nothing else.
- Ikenga's Lance
 : Likely requires some outside assistance to obtain. If you have access to it, it's a decent easy pickup. Don't waste RP augmenting it, you'll replace it with any PREMA.
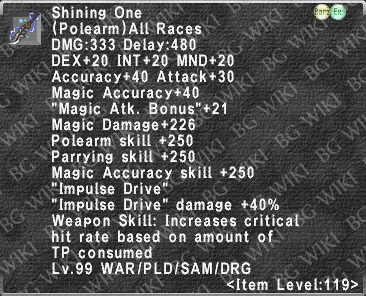
- Shining One
 : Your best non-PREMA polearm, can compete with various PREMA weapons depending on scenario. Has the unique ability to grant the ability for any polearm physical WS to crit. Worth upgrading passed the Kaja Lance to Shining One regardless of choice to make any PREMA Polearm.
- Aram
 : Get if you want a Subtle Blow option, otherwise it's not worth the gil investment over a PREMA weapon. Augment Path B.
- Bought from another player or Crafted.
Not Polearm
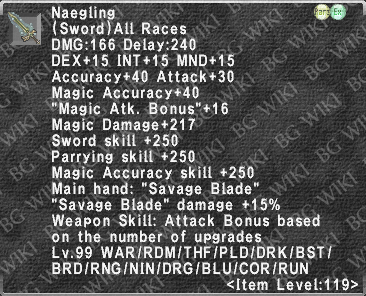
- Naegling
 : Any job that can wear it it's good, including DRG. Even with a C- Sword skill this is still one of our best damage options for pure WS spam. Allows us to get around piercing resistance as well.
- Mafic Cudgel
 : Our only ilvl club option since it's all jobs, works ok if you need blunt.
- Malignance Pole
 : Alternative Blunt option over Mafic, keep 2-hander benefits if swapping from a polearm (i.e Hasso).
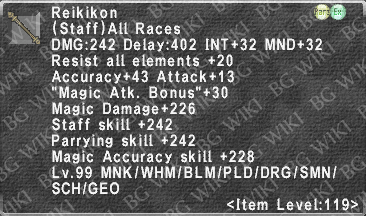
- Reikikon
 : Used for Cataclysm cleaving. Alternative option Blurred Staff +1
 .
.
- Reikikon obtained from Kouryu, Blurred Staff +1 obtained from another player or crafted.
PREMA
Listed are all our PREMA options, descriptions and how they stack up in comparison to the others below.
- Gungnir
 : Our first ultimate weapon, the Relic Weapon Gungnir. Touting a high acc bonus that we'll never need, this polearm grants us access to the unique weapon skill Geirskogul. This polearm gives us access to our only Distortion WS which opens up some minor SC options. There are other easy ways to make Distortion with our WS's, but requires really opening with Distortion where this lets us use Distortion in the middle of a SC. Shines mostly in low buff/debuff situations with the Defense Down Additional Effect it can proc fairly frequently giving us an easy debuffing tool (when Angon is down). The Shock Spikes aftermath is decently potent for a stun giving us a little bit of breathing room if you're tanking the mob. Along with the Augment boosting Geirskogul, Relic Weapons also have a hidden WS DMG boost effect of 40%. With the augment this provides a total 68% DMG boost to Geirskogul. In general, our weakest PREMA, the WS doesn't scale with TP, making TP Bonus and TP Overflow not great; it also has a low base fTP as is. Fun to pick up and mess around with, but not something you'd be using commonly in serious content.
- Ryunohige
 : Our second ultimate weapon, the Mythic Weapon Ryunohige. This polearm forces a crit on Jump and High Jump, as well as provides a 34.7% attack bonus to Jump (High Jump does not get the bonus). Along with the Augment boosting Drakesbane, Mythic Weapons also have a hidden WS DMG boost effect of 30%. With augment this provides a total 49.5% DMG boost to Drakesbane. In high buff/attack capped scenarios this polearm shines through spamming Drakesbane as one of our highest damage options. AM3 provides easy multi-attack letting us focus on Store TP in our sets to build TP quickly. While it's very good, it does require a near perfect scenario to become the best, other options may outshine it often depending on buffs/target.
- Rhongomiant
 : our third ultimate weapon, the Empyrean Weapon Rhongomiant. Like other Empyreans, this polearm is our king of white damage. With the AM3 providing a 50% chance for our Auto-Attacks to do Triple Damage, we tend to change our focus in our sets to high attack/crit over standard multi-hit/STP for WS spam polearms. The associated WS Camlann's Torment is decent in most content, but shines better in low buff scenarios by bypassing various levels of an enemies DEF if you don't have good atk buffs or def down debuffs. Useful in various situations where you either need to WS less frequently (WS Wall) or are in a low buff/debuff scenario where you can take advantage of the DEF ignoring mechanic of Camlann's. In high buff/debuff situations it quickly falls off to the likes of Ryunohige, Trishula, and Gae Buide.
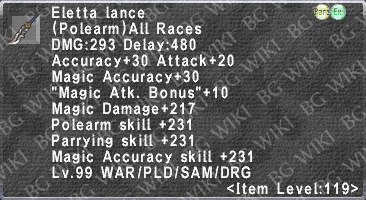
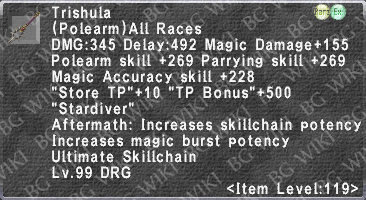
- Trishula
 : Our forth ultimate weapon, the Aeonic Weapon Trishula. Likely the most commonly used PREMA Polearm, and generally fastest/easiest to get, Trishula is a great all-arounder. Any WS that scales well with TP is going to take advantage of the TP Bonus +500 at all times, and the associated WS Stardiver is one of our strongest. The augment doesn't provide a huge damage increase, considering this will likely be your most used PREMA polearm, but it is still a damage increase and it's worth the augment even if just for the accuracy bonus. Does extremely well in High Buff/debuff scenarios, and is OK in low buff scenarios, but can fall behind the likes of Rhongomiant and Gungnir depending on the target.
- Gae Buide
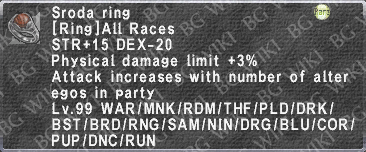
 : Our fifth ultimate weapon, the Prime Weapon Gae Buide. Prime weapons excel at one thing, pumping out DMG, and that's what we've got here. While the associated (and Unique to this weapon) WS Diarmuid may share the same animation as Geirskogul, that's where similarilities mostly end. Unlike Geirskogul Diarmuid scales extremely well with TP letting us make great use of TP Bonus and TP Overflow, so no wasting jump TP. The Aftermath provided by this Prime Weapon is Physical Damage Limit (2-12% depending on Weapon/Aftermath Stage) letting us keep a lot of extra WSDMG/Atk gear in our set vs swapping out for PDL gear. If you have it use it, it'll shine in just about any situation, but may fall behind Rhongomiant or Gungnir in low buff/debuff situations.
Quickie Tier List
Basing this quickie list on DMG potential for common scenarios, not necessarily perfect scenarios for each weapon.
- Low Buff: Pretty close between all of them really, but roughly Rhongomiant > Gae Buide > Gungnir > Trishula and then a super distant Ryunohige (don't use this low buffed).
- High Buff: Gae Buide > Trishula > Rhyunohige > Rhongomiant > Gungnir
Equipment
TP Sets
- Progression from Bayld +1 all the way to current endgame sets. Sets based on ease of access for newer players and not necessarily best in slot. Will be skipping outdated gear that requires going significantly out of the way to get, or requires significant luck such as Oseem augments. As well, since it's generally not worth going back and farming something just to start 119, use whatever you have available in the Fresh 119 slots that are empty. Sets are haste capped with wyvern out + Hasso.
Sets by Boposhopo
- Sets I've used throughout all endgame content. All sets tested/used in V25/Sortie. Can run against simmed sets if you like here.
TP Sets
WS Sets
- PDL Swaps doesn't mean you should swap every piece. PDL varies by mob, buffs, debuffs, etc. just adjust as needed with a piece or two at a time.
|
|
|
|
|
| Camlann's Torment/Sonic Thrust
|
|
|
|
|
|
|
|
|
|
|
|
|
Jump Sets
Galkapryme's Equipment Sets (Under Construction)
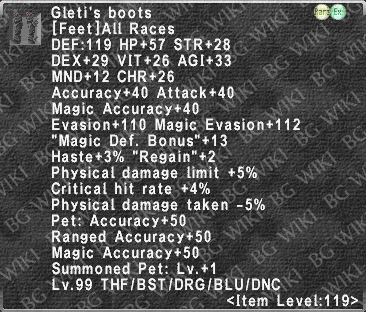
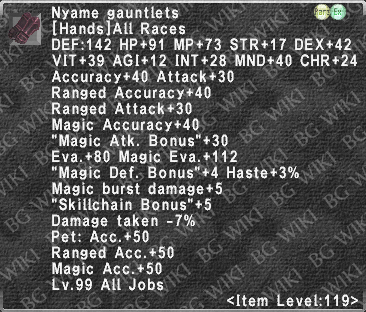
- Author's Notes: Herein lies my humble collection of DRG sets. Coiste and Gleti's can be R0+ unless specified; and, with the exception of the MEVA set, Nyame gear assumes R25~R30. Unity +1 gear typically assumes R15.
I built multiple niche sets for various reasons, and I don't always aim for what people regard as BiS - mainly because I struggle to build DRG sets that strike the perfect balance between STP, X-hit, DT, PDL, and Haste. This is especially true when you consider the Wyvern, too. That said, I do believe I have identified a BiS X-Hit set.
Since this area is under construction, I will strive to present more optimal sets. But these have been tested, and are quite fun. I also built sets that are both with and without the Wyvern, since some end game content can kill a Wyvern before the recast timer is up to recall it. Save for PREMA-specific WS sets, most of these sets do not include the weapon since we all play with different weapons in different scenarios. Assume you can ignore the grip if using Naegling. Galkapryme (talk)
Engaged Sets With and Without Wyvern
|
|
PDT Capped
DA+16%
STP+10
PDL+47
Regain+12
Gear Haste Capped
|
|
|
|
|
|
PDT Capped
TA+5%
DA+32~33%
STP+32
PDL+34
Gear Haste Capped
Regain+2
BiS?
|
|
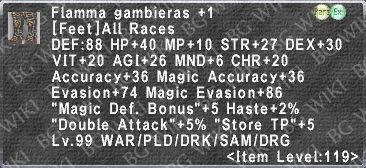
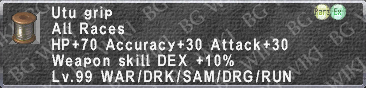
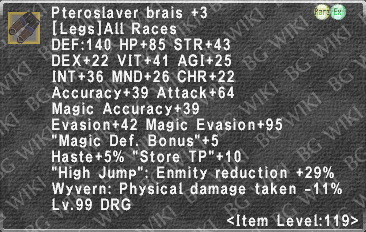
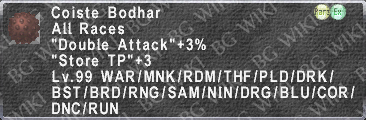
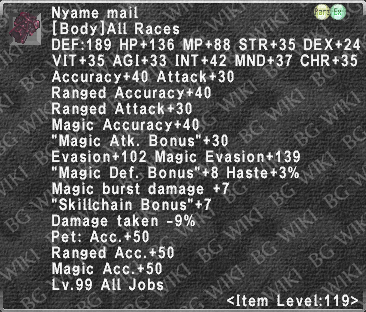
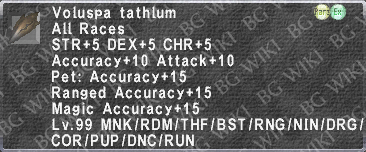
- Utu Grip
- Coiste Bodhar
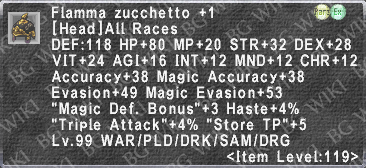
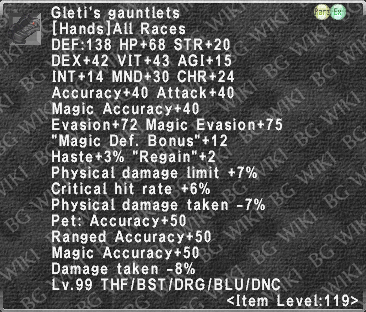
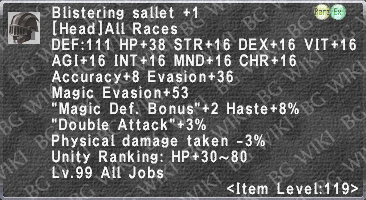
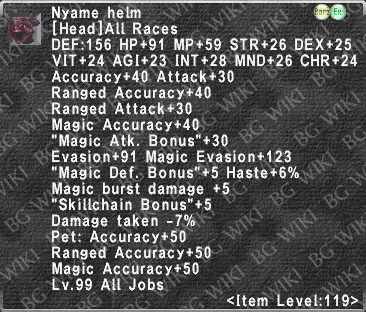
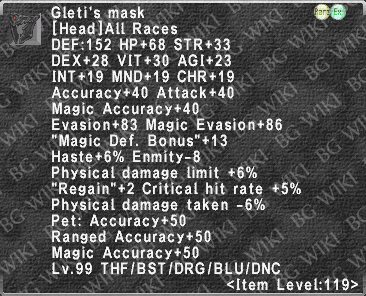
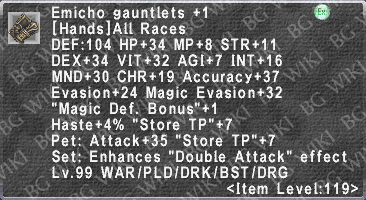
- Gleti's Mask
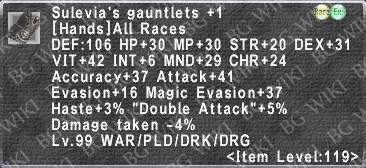
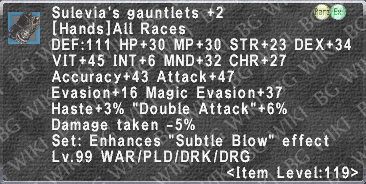
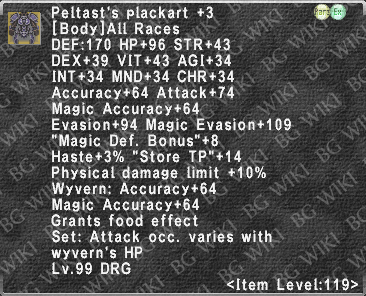
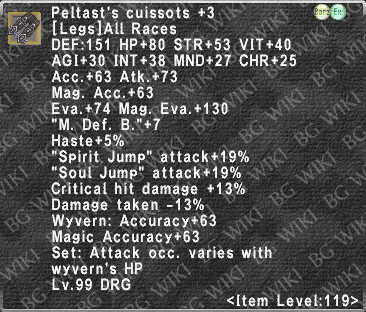
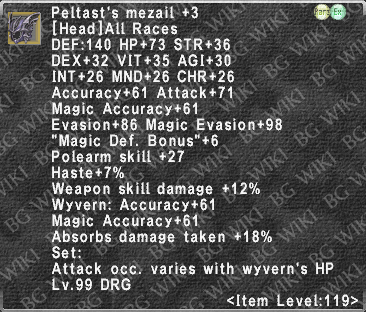
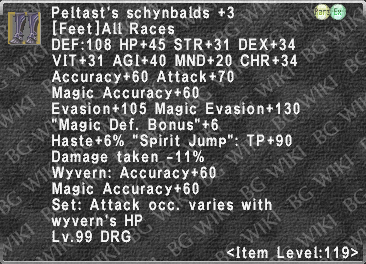
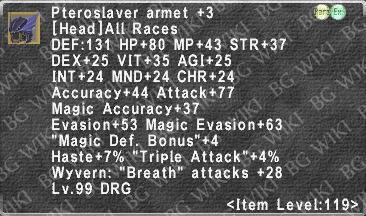
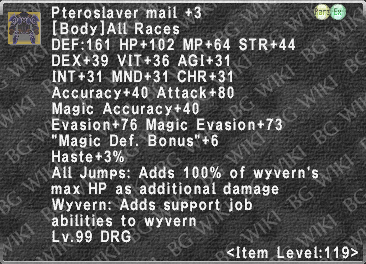
- Pelt. Plackart +3
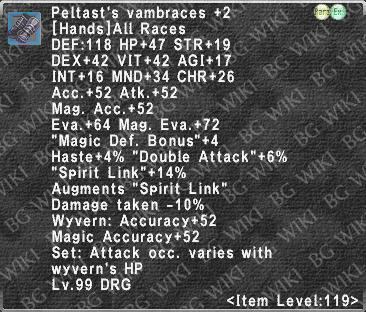
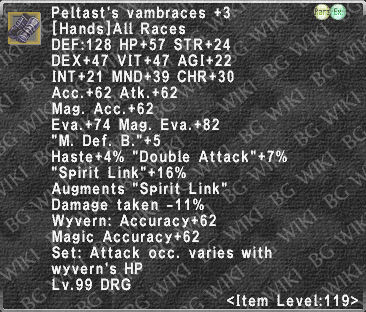
- Pel. Vambraces +3
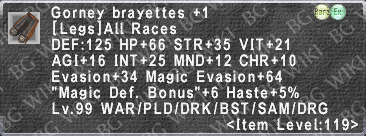
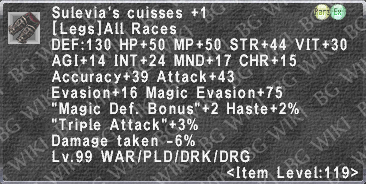
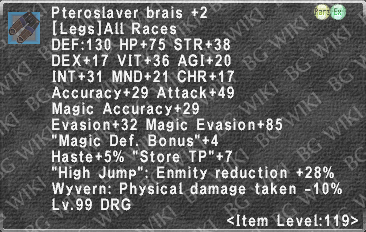
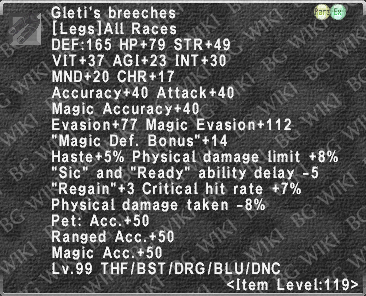
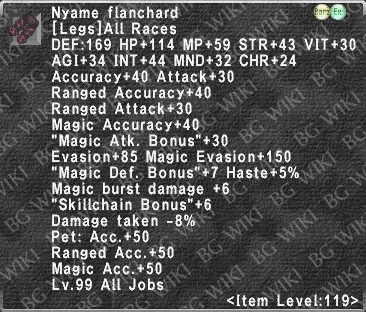
- Gleti's Breeches
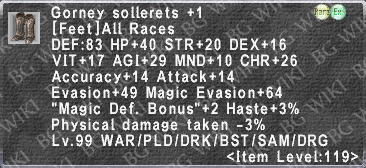
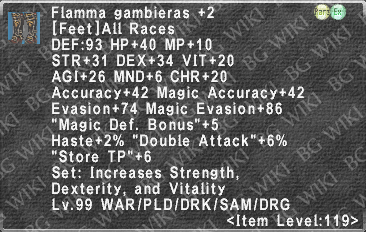
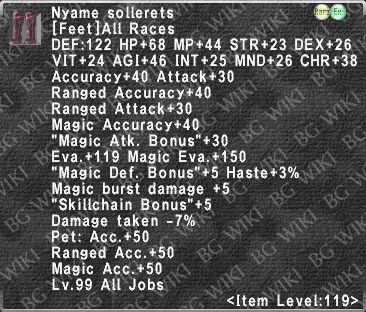
- Nyame Sollerets
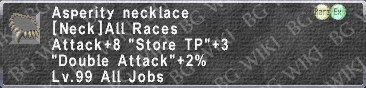
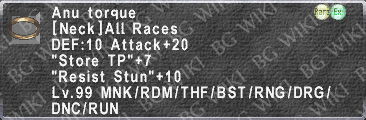
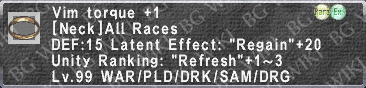
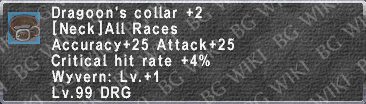
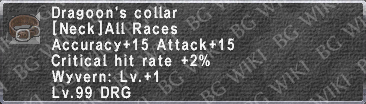
- Dgn. Collar +2
- STR/VIT 15, PDL 10, Wyv: DT 25
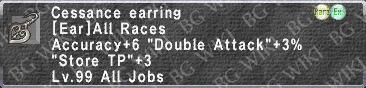
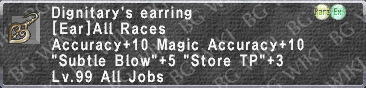
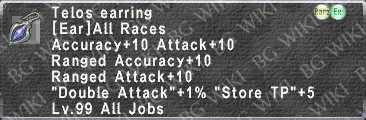
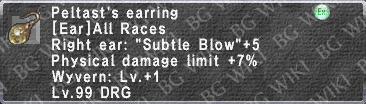
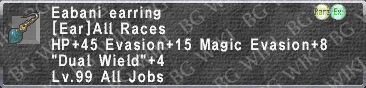
- Sroda Earring
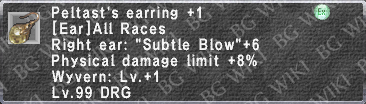
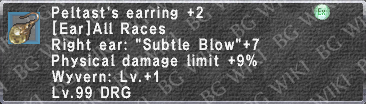
- Pel. Earring +2
- Accuracy and Magic Accuracy 16~20, Critical Hit 6~8%, STR & VIT 7~15
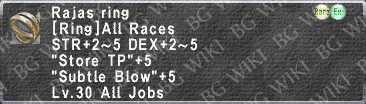
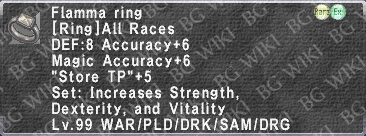
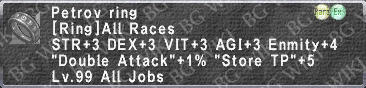
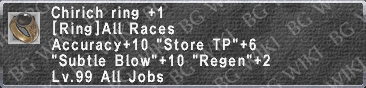
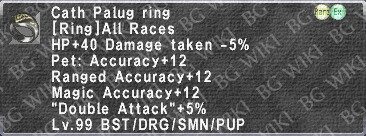
- C. Palug Ring
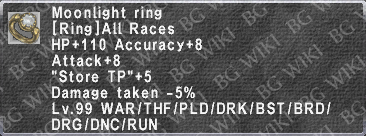
- Moonlight Ring
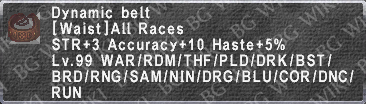
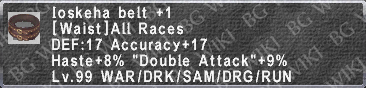
- Sailfi Belt +1
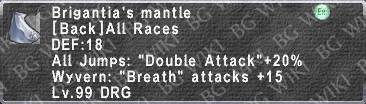
- Brigantia's Mantle
- STR+20, Pet Acc/M.Acc, Pet Attk/R.Attk +20, Acc+20, Attk+30, STP+10, PDT-10%
|
|
|
|
- The Starter Base Set can all be procured relatively easily (i.e., AH, R0 Lv. Oddy clears, Domain Invasion, NQ earring from Sortie)
|
- Unless Gleti's Breeches are R28+, stick with Nyame R25+. Even then, you significantly reduce DA percentage for a slight 5% TA chance. And if you're not really concerned about Acc or the extra Wyv. Lv. +1 (especially if you have Gae Buide), you can swap the Pel. Earring for the Sroda Earring. Otherwise, I'm compelled to call this one BiS (though I may be wrong).
|
- Seeks to strike a balance for the player and the Wyvern with a focus on STP. Definitely not a BiS set, and not advisable to use unless you are not pulling a great deal of hate, and/or you have a solid healer.
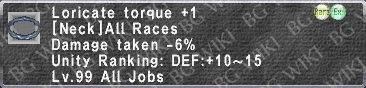
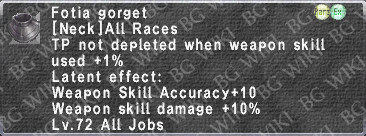
- Beware the Vim Torque Latent.
|
|
|
PDT-45%
Gear Haste Capped
|
|
|
|
|
|
MEVA 729
MDB 29
DT Capped
Wyv. DT-25
Gear Haste Capped
|
|
|
|
|
|
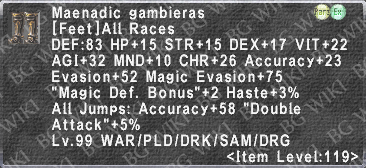
Swap in Pelt. Feet
for Spirit/Soul Jump.
|
|
|
|
- NOT MAX ACC. Prioritizes player accuracy over wyvern, but does consider wyvern accuracy. Can add Cacoethic Ring +1 and Mache Earring +1 for Max Acc.
|
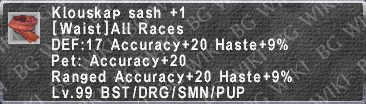
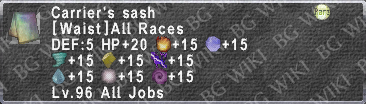
- MEVA set focuses on the player, but grants wyvern DT-25 over Warder's Charm +1. Carrier's Sash should suffice for elemental resistance.
|
|
|
|
|
|
|
STP 81 (101 ML50 /SAM)
TA+7%
DA+19%
Regain+2~22
PDT-7
PDL+7
|
|
|
|
|
|
- This is a glass cannon set, and if your Wyvern got killed, you probably don't wanna be wearing this. If you're just doing simple content and didn't even bother calling you're Wyvern (i.e., some small quest), you should be fine. Trades STP for more X-hit.
|
- Slightly more STP than w/Wyvern, but less PDT and PDL than the w/Wyvern set.
|
|
|
DT Capped
DEF 817~822
HP +734
|
|
|
|
|
|
- Focuses on DT rather than PDT, specifically.
- DT is way over cap because many of the pieces also include high DEF (i.e., Loricate and Odnowa)
- Still a good deal of Acc., and X-Hit; moderate STP with /SAM
|
- MEVA with and without wyvern are pretty much the same.
|
|
Weaponskill Sets
Most weaponskills are STR-based physicals with only 1 DEX-based and 2 magical. And as much as we love to see variety in our sets, empirical evidence suggests that the same STR-based set yields the highest WSD across multiple weaponskills. So, this section will be a bit thin. NOTE 1: Most of my Gleti's gear is R0, so I may need to come back and adjust. If after trying these sets versus your own you find yours is better, please comment in the discussions section. NOTE 2: Stacking critical hit and PDL gear (Gleti's) instead of STR gear appears to yield similar, but slightly lower outputs.
|
|
|
|
|
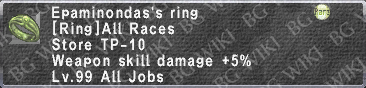
Savage Blade
Stardiver
Impulse Drive
Double Thrust
Leg Sweep
|
|
|
|
- Set assumes Stage 4 Prime+. There's not a great deal of utility for Stage 3 in Sortie if you have other REMAs.
|
- Relics aren't the best in the game these days; but they still get use, and it's never a bad thing to have one.
|
- Pretty much the same as Diarmuid set. Use Naegling for Savage Blade, R15 Rhongomiant for Camlann, R15 Trishula for Stardiver, and Shining One for Impulse Drive if you intend to use those weaponskills frequently in battle. NOTE: You may get better results if Gleti's is well-augmented. Regarding Savage Blade, I don't care what the simulator says, this set has been tested against the sets found in www.bg-wiki.com/ffxi/All_Jobs_Gear_Sets/Dragoon.
|
|
|
|
|
- Likely only using these as part of a SC or to meet an objective...or you're a DD fighting a mob specifically resistant to physical damage.
|
- Use R15 Ryunohige for Drakesbane as best weapon. Stack STR and Critical Hit gear. Set forthcoming.
|
- Acc set for physical weaponskills. Set forthcoming, but assume Peltast's +3 set.
|
 Information on Xevioso to purchase.