| Difficulty
|
Foes
|
Notes
|
| Very Difficult
|
Bozzetto Bigwig (THF/NIN)
Summons: Bozzetto Astrologer(BLM) x2, Bozzetto Tormenter(DRK) x3
|
Gains access to Spin the Tables.
Susceptible to Sudden Lunge.
|
| Difficult
|
Bozzetto Bigwig (THF/NIN)
Summons: Bozzetto Astrologer(BLM) x2, Bozzetto Tormenter(DRK) x2
|
Susceptible to Sudden Lunge.
|
| Normal
|
Bozzetto Bigwig (THF/NIN)
Summons: Bozzetto Astrologer(BLM) x1, Bozzetto Tormenter(DRK) x2
|
|
| Easy
|
Bozzetto Bigwig (THF/NIN)
Summons: Bozzetto Astrologer(BLM) x1, Bozzetto Tormenter(DRK) x1
|
|
| Very Easy
|
Bozzetto Bigwig (THF/NIN)
Summons: Bozzetto Tormenter(DRK) x1
|
|
Notes:
Bozzetto Bigwig:
will use the following TP moves:
- 100~80%
- Animating Wail, Mangle, Leaping Cleave
- 80~60%
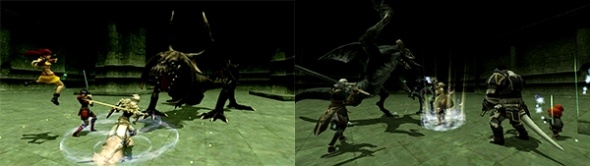
- The Bigwig's weapon will break, summons adds, and uses Hex Palm as well as Spinal Cleave.
- 60~30%
- The Bigwig equips it's secondary weapon. Gains en-death while adds are out wand will use Unblest Jambiya as well as Gen'ei Ryodan
- Unblest Jambiya - AoE shadow removal.
- Gen'ei Ryodan - Conal damage, stun, and a dispel (removes 5 shadows). Dispels a buff for every hit not blocked by shadows (e.g. no shadows = 5 buffs dispelled).
- 50%
- 30~0%
- Weapon breaks again, resummons any defeated adds, and casts Utsusemi: San frequently. Loses the en-death effect while adds are out and will use Phantom Whorl as well as Turn the Tables.
- The Bigwig may be silenced to stop the Utsusemi spam, but this will require an immunobreak to land.
- Genku Bakken / Phantom Whorl - Very high
 damage single hit attack, absorbed by shadows. Has a short range (~'10) damage single hit attack, absorbed by shadows. Has a short range (~'10)
- This move will generally 1-shot players. It is recommended to shadow tank the NM at around 30% HP and under as even with Indi-Wilt and Damage Taken equipment the move will still do ~3-6k damage.
- You may also run out of range of this move.
- Spin the Tables / Turn the Tables - drain based on the current player's HP; Spin the Tables is 15' AoE drain. This move can not drain more HP than the player has, and returns more HP than is drained.
- Frequent use of this on players with high HP will render the Bigwig undefeatable. Players must fight with a lower HP to return less to the Bigwig when it is used. However, with the June 2022 update, any player with less than 10% of their health will die instantly.
- Adds are immune to sleep.
- Adds will use their respective 1-hour special abilities and standard Qutrub TP moves.
- The Astrologers will cast typical BLM spells including, T4 nukes, Sleep II, Poisonga, and Ice Spikes.
- The Astrologers are susceptible to silence.
- When the Bigwig is at 30% or lower the adds will gain access to a move named Triple Reversal.
- Triple Reversal - Drains HP from the target based on unknown conditions. This effect can be seen draining over 30,000 HP from a player.
- Caused by having 3 or more adds (including the Bigwig) on a target at a time. Player may outrun this move if kiting.
- The rate of activation on the Bigwig's endeath effect increases the more players continue to damage the Bigwig.
- The effect is removed once the adds have been defeated.
- Kiting Tip: Run closer to the walls and corners rather than the pillars to avoid Triple Reversal while kiting.
- Running closer to the pillars causes mobs to path worse and split more; increasing the chances of a cross route into a K.O from Reversal.
- The mobs will still break their pathing here and there, but unless you are way too far ahead they will regroup as you go without splitting up at a pillar and crossing over your route.
- The kite path essentially is an isosceles triangle, you want to almost run into the corners and gauge/adjust your distance to the mobs at each corner if needed. This should reduce group wipes by a lot.
Setups and Strategies:
Very Difficult:
- This month has 3 different strategies.
1) Mewing strategy: This is the most reliable strategy, with reasonable clear speed.
PLD or RUN, DD/NIN or NIN/WAR, RDM/NIN, COR/NIN, BRD/NIN, SMN.
DD pulls NM to the corner and the PLD or RUN kites adds around the pillar when they spawn. BRD does March, Mad, Mad, Min and keeps elegy on Bigwig.
DD keep shadows up to prevent endeath kill, rdm keeps dia3, slow II on megaboss, silence on astrologers when they pop, then dps when they are not casting. SMN cure the tank.
At 30% tank stop kiting and hold all mobs away from megaboss in one place so mewing lullaby can land on all the adds, smn spams mewing lullaby on cooldown to prevent Triple Reversal fires off. Rdm will need to recast silence on Astrologers as soon as silence wears off.
At 30% when NM spams Turn the Tables, just let the DD sit at single digit HP. Nin should toss some vokes before wsing to help the lesser shadow DDs eaten by a potential multi attack.
2) Kiting strategy: This strategy is potentially faster than mewing strategy, with more flexibility on dps job types, but they are a little bit less reliable because Triple Reversal has a chance to look tank if party doesn't kill fast.
PLD or RUN, DD/NINx2, BRD/NIN, COR/NIN, RDM or healer
This strategy is identical to mewing strategy except the tank kites all the adds from start to finish, no mewing lullaby used. Healer will need to silence the adds.
3) Kill adds strategy: This strategy is the slowest strategy but most reliable of all. Instead of kiting adds, DDs will kill all adds that spawned. There are 2 waves of adds total. Once adds are dead, NM will no longer us endeath nor triple reversal, therefore removed all the potential possibility to wipe.
Normal:
- BRD/RDM, RDM/NIN, DD/NIN (x3), PLD
- Can use similar strategy for Very Difficult. However, reversing the roles also works -- i.e. rather than having the PLD kite the adds, the PLD tanks the adds and someone else with /NIN kites the NM. We found that killing the adds makes the fight much safer (but prolongs the whole fight; limit points and capacity points make for a decent consolation prize, though).
- BRD should double March and Madrigal until the adds pop. Switch to double March and Hymnus for the pops. Make sure to silence (easy to land) the Astrologer. PLD should try to grab hate on all the adds. At this point, someone (RDM) should kite the main NM. A simple weapon skill should be enough (or self-light using CDC if you need even more damage) to get the NM's attention. Elegy, Slow II, and Paralyze II should make the kiting process super easy (esp. with /NIN sub). BRD can then switch to double March and Minuet to kill the adds once the NM is away. The adds can be easily dispatched with double-light skillchains or better (we had BLU, SAM, WAR, and used four-step skillchains). With the NM being kited, the BRD can easily main heal (not much healing needed for /NIN).
- When the second set of adds pop, use double March and Hymnus for safety until the NM is separated from the adds. Then switch to double March and Madrigal (or Minuet). If BRD can play more than 3 songs, even better. Same strategy as above. Use Troubador/Nightingale to speed this part up and get back to the NM.
Normal Half Kiting Strat:
PLD/WAR, PUP/NIN, DD/NIN, BRD/NIN COR/NIN, WHM
- Strategy: Start with Boss then kill all adds (BLM then both DRK) while Pet tank Boss, then zerg Boss till its dead while pld kite adds near 30% hp.
- Pet was full DD set (VE head/SS body), Strobe must be equiped, PUP should use Light, Fire and Wind Maneuver. BRD used double March and double Minuet, but can use Acc song too if needed. COR used SAM and WAR rolls.
- Have Pet or BRD pull boss with elegy to the corner where we started. All engage on Boss except PLD and WHM, PLD wait for adds in the middle, they usually came when we dropped Boss to around ~76% HP.
- Once Adds are up , DDs swap to them, the person who still have hate from Boss must wait till the pet get hate back and let it solo tank, PUP should swap to pet enmity set (especially before Strobe) until the pet have enough enmity from Boss. Pet doesn't need a Tank set, as long as you can keep a Light maneuver on it for Auto-repair kit.
- Kill order for adds: BLM then DRK(x2), WHM should silence BLM to make it easier, BRD dispel Ice spikes if needed. Once all dead swap back to Boss, except the PLD who stand back in middle. At 50% Boss will use Perfect Dodge and around 30% HP he will pop adds again, PLD must grab all of them and kite around the 3 pillars using his enmity abilities. DDs ignore adds and zerg the Boss, it shouldn't take long with a few Skillchains.
The idea of this strategy was to supress the Boss' En-death from killing any DD/NIN and not making a Ninja mandatory in every runs. Also the PLD doesn't have to kite the adds and risk of dying in the process, only at the end before the last 30% HP but they never lived enough to cause troubles. Worked like a charm with little to no risk and each run took around 8~10 mins. Now go enjoy your wins.
Easy:
- NIN or DD/NIN (x3), BRD, SMN, Apururu(U)
- Very safe strategy
- March x2 + Hymnus to help with Utsusemi recast; Hymnus is just in case the main NM sneaks in a move during recast of shadows so we don't have to deal with raising mid-fight or MP issues. If you can cast more than 3 songs, have at it.
- When adds pop, whichever DD has hate kites NM while the others focus on Astrologer. The SMN then focuses on the Tormenter.
- When adds are dead, group back up on the NM.
- SMN can probably be replaced by 4th DD who would kite Tormenter until the Astrologer is down. SMN can optionally do spike damage on NM during kiting phase so that the DD kiting the NM can rejoin in taking down the adds.
Key Item Locations:
- Dvucca Isle Staging Point
|




 Abdhaljs Seal will triple the amount of hallmarks and gallantry you receive from a successful Ambuscade.


 Storage Slip 23.


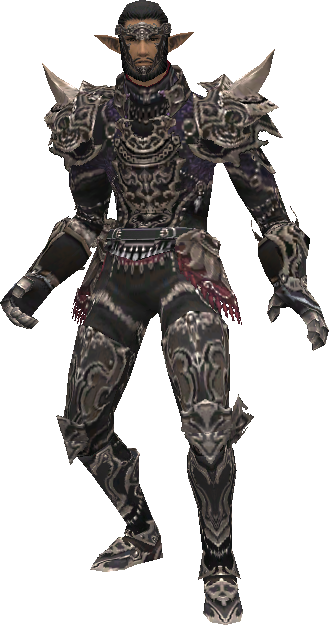


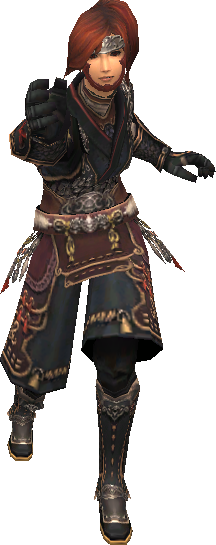


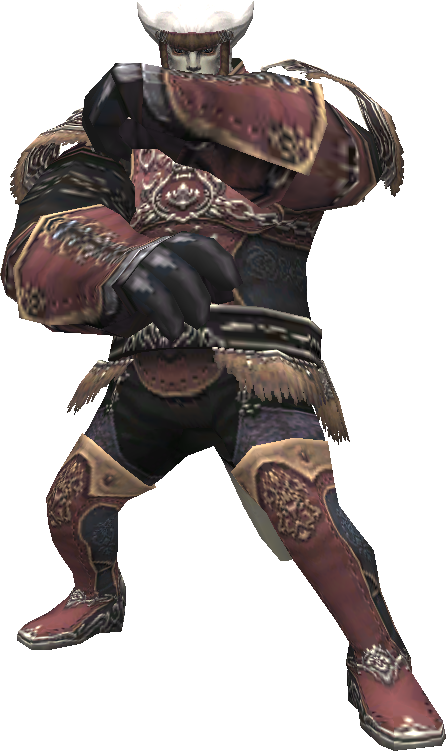










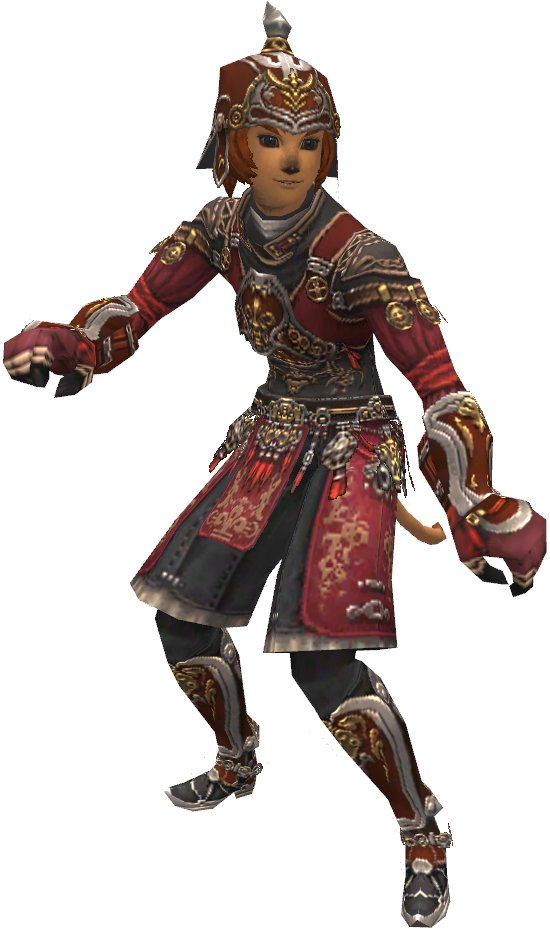


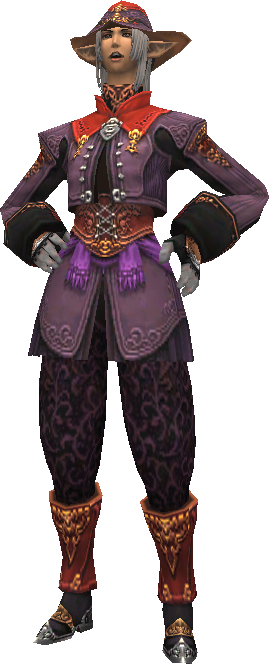


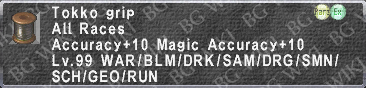
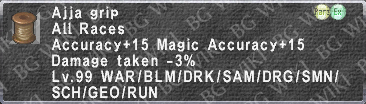
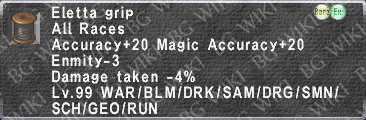
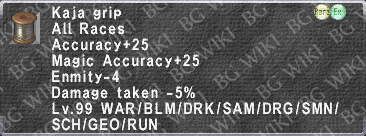
 Ambuscade Voucher: Weapon for a weapon of your choice or the grip.
 Abdhaljs Nugget x5 (1,500 Total Hallmarks / 4,500 Total Gallantry)
 Abdhaljs Gem x5 (2,500 Total Hallmarks / 7,500 Total Gallantry)
 Abdhaljs Anima x5 (4,000 Total Hallmarks / 12,000 Total Gallantry)
 Abdhaljs Matter x5 (6,000 Total Hallmarks / 18,000 Total Gallantry) and one of any non-Ambuscade Pulse Weapon‡


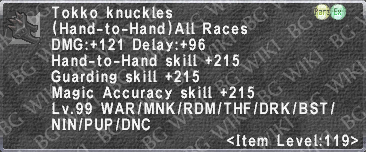


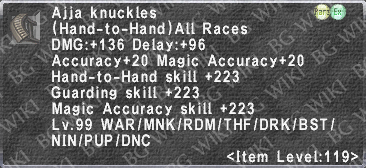


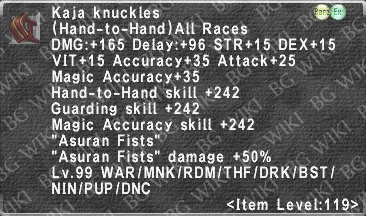


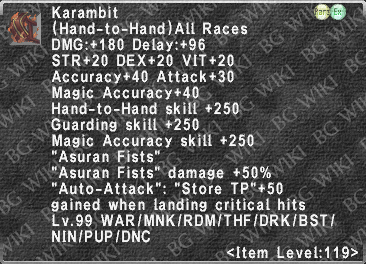

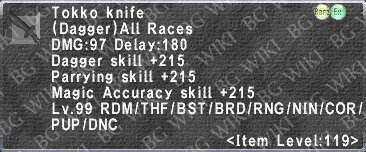

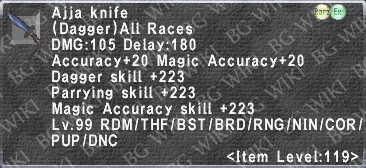


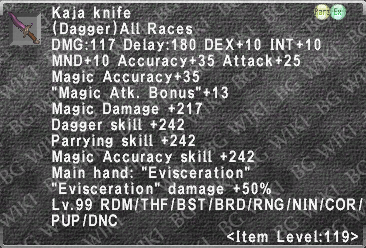

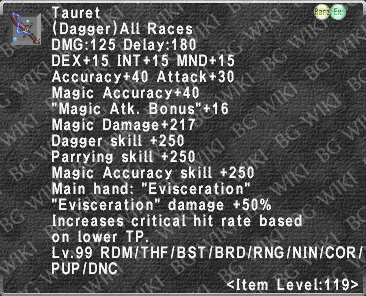

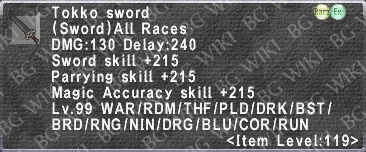

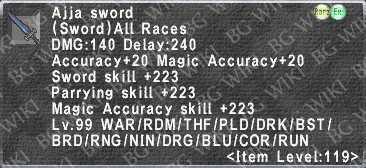

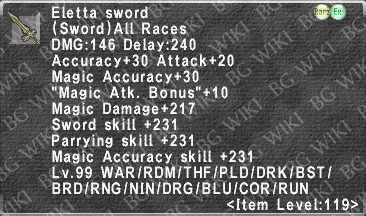


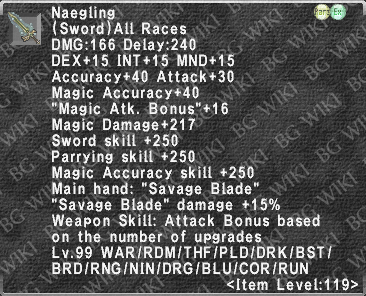

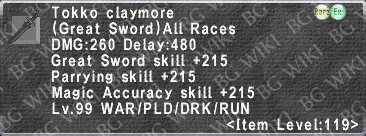


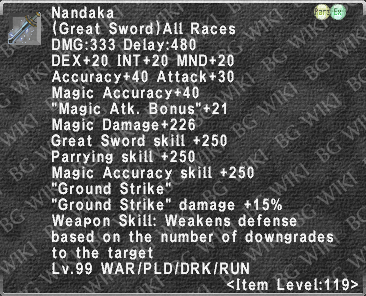

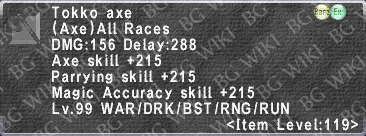

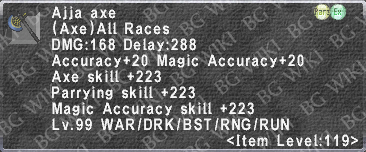

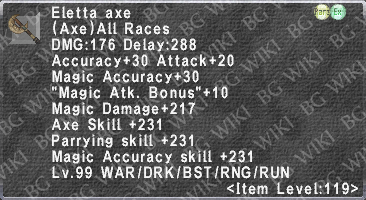

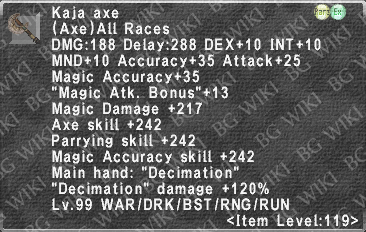







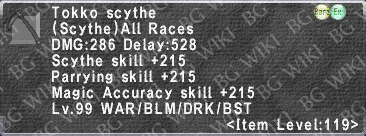


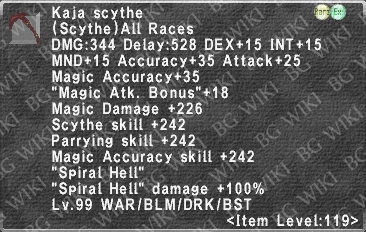

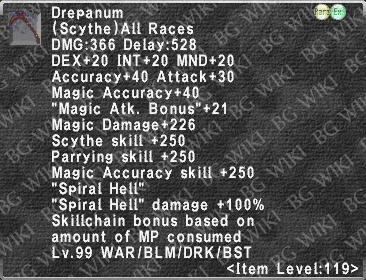

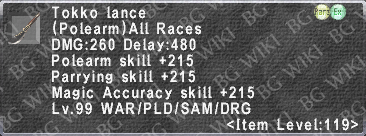

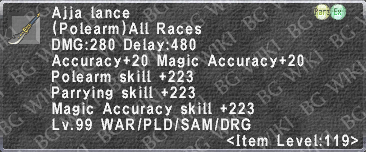

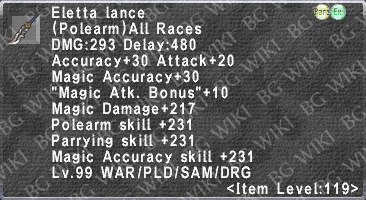

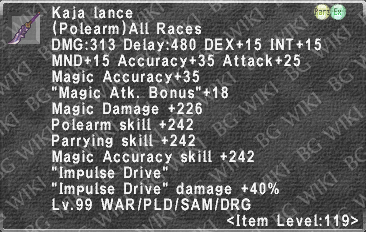

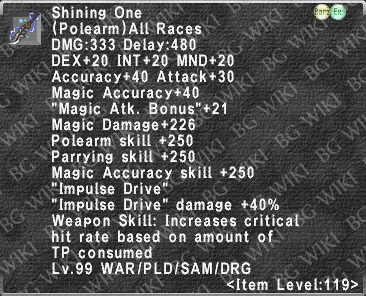






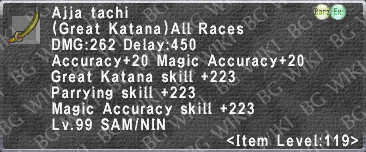


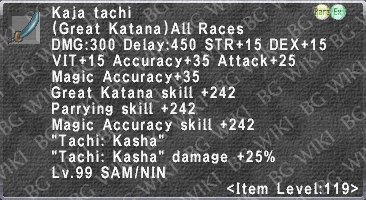

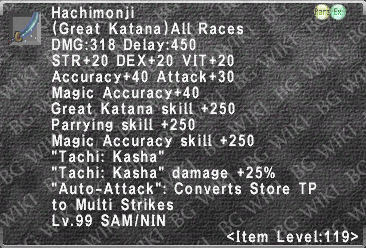

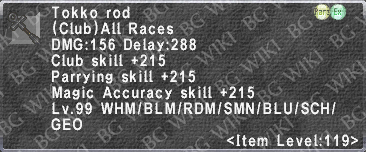

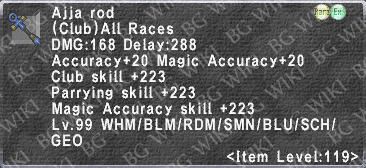


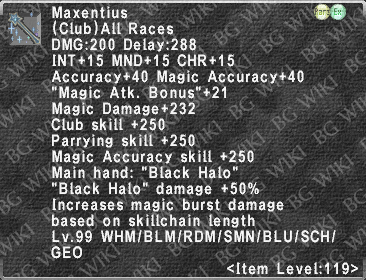

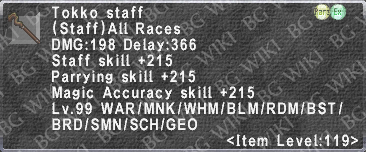

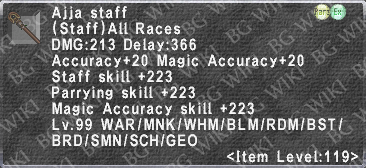

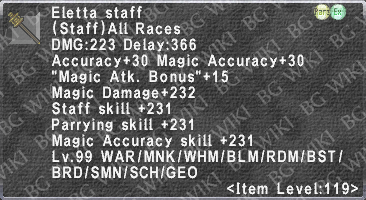

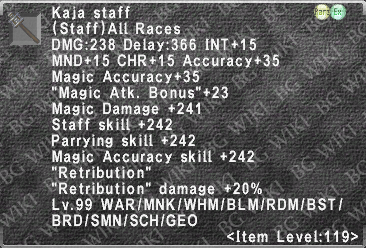

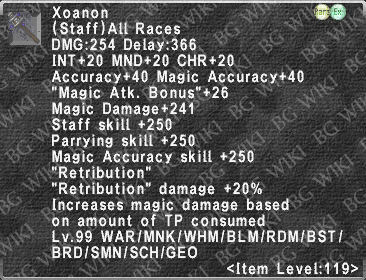

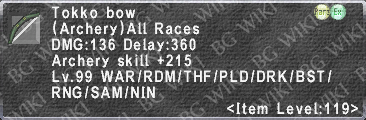









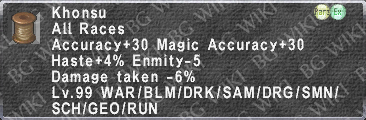
 Sagasinger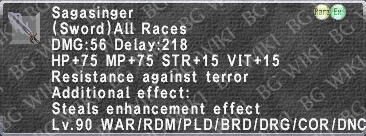
 Ephemeron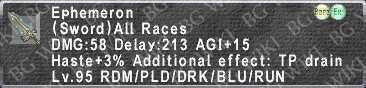
 Coruscanti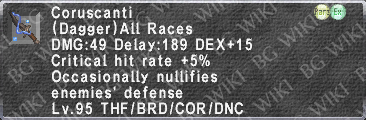
 Murasamemaru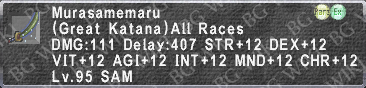
 Borealis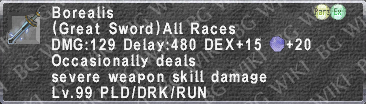
 Asteria
 Delphinius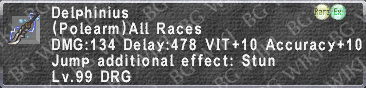
 Aytanri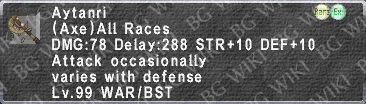
 Girru
Girru
 Ikarigiri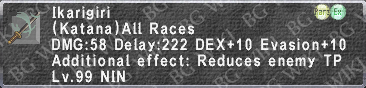
 Tenkomaru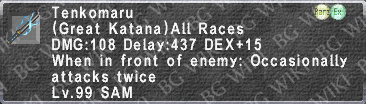
 Himthige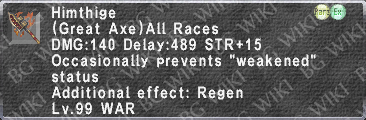
 Adflictio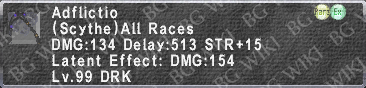
 Gusterion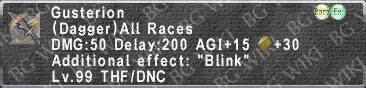
 Dukkha
 Chastisers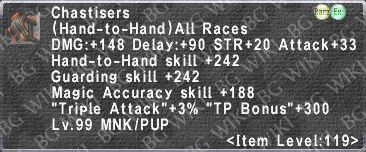
 Router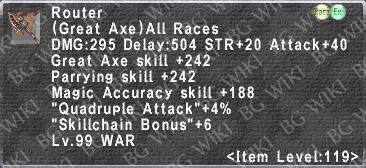
 Annealed Lance
 Abdhaljs Thread x20 (100 Hallmarks/Gallantry each, 2000 to max.)
 Abdhaljs Dust: x20 (100 Hallmarks/Gallantry each, 2000 to max.)
 Abdhaljs Dye: x10 (800 Hallmarks/Gallantry each, 8000 to max.)
 Abdhaljs Sap x10 (200 Hallmarks/Gallantry each, 2000 to max.)
 Abdhaljs Resin: x5 (1,500 Hallmarks/Gallantry each, 7500 to max.)