|
 The Voracious Resurgence |
 
| |
| Prime Weapons • Ultimate Weapons • Ultimate Augments • Abjurations iL119 • JSE Necks • Divergence Augments • Escutcheons | |
| Reforged Armor Artifact: +1 • iL109 • iL119/+2/+3/+4 Relic: +1/+2 • iL109 • iL119/+2/+3/+4 Empyrean: +1/+2 • iL109 • iL119/+2/+3 |
Guides • Crafting • Trusts • Apex Monsters |
User:Dumo/sandbox/
Into?
This is going to be my Sortie cheat sheet. I have 0 intensions of releasing this to the public. Anyone who find this is free to use it obviously. Reach out to me on discord or use the discussion tab to add info or make suggestions. This will very much be a work in progress. It is a way for me to keep track of the info and to share what I need with linkshell mates.
Setups
Here are some common setup options.
Mage
This basically comes in 2 flavours, with RDM or double SCH
- RUN, COR, GEO, BLM, SCH, (RDM or SCH)
RDM comes with a lot of advantages. More haste, debuffs, quick/easy temp item in D and CC if something goes wrong. It can melee and it can burst.
The second SCH removes the issues of strats being difficult to manage. If your SCH isn’t able to manage strats amazingly, you will run into issues. Even just bringing the second SCH as a fall back while the main SCH is learning is a big advantage. The second SCH also means one of them doesn’t have to be geared super well. They can just run the SCs and manage their strats. The other SCH can focus on bursting or putting up stronger/longer buffs.
It is also possible to run RNG over the RDM but I haven’t looked too far into this setup and its capabilities. I believe it is targeting 6-7 bosses on the run.
Melee
Also comes in 2 flavours:
Single DD:
- PLD, BRD, COR, GEO, RDM, DD
- A to D arund the world,
- E (A2), G (C2), H (D2), F (B2)
If you are doing a 9 boss run you will want the DD to be DNC. Otherwise, you have a lot of options. The advantage is being able to kite 2 of the bosses and avoid their mechanics. This makes the run more consistent.
DOUBLE DD:
- DD, DD, BRD, COR, RDM, WHM
The advantage is different jobs… that’s about it from what I can see. B and D basement are more sketchy but if you don’t have a PLD or just need a change, this will get the job done.
Meds and Preparation
It is so much faster to just pop meds instead of calling out and waiting for some form of status cure. It’s faster for a mage to pop echo drops or a remedy than waiting for someone else to silena. The other issue is casting silena is now 2 players not bursting instead of 1. Bring meds… Melee is even more important to bring meds. Cures are pretty much going to be AOE bombed onto the group. The WHM doesn’t have time to deal with your bind. The PLD can’t deal with your bind. Just pop panacea and get back in there. Use an echo drop and stop missing. You get the point.
Macro the meds or use key binds for them. You don’t have time to fumble around in your inventory for these things. If macros, obviously lean on remedy and panacea so it only takes 2 macro slots. For key binds, it’s up to you, you have plenty of space on a keyboard.
Mage runs running 8 boss runs don’t need much. Before entering, check for:
- Food
- Correct Subjobs
- Echo Drops or Remedies
- RUN should have panacea
- COR should have tools or pots for sneak and invis
- know your location in the split
- know your role/skill chain/burst in the split
- know your buffs before entering and at the start
For melee runs, regardless of the version, check for:
- Food
- Correct Subjobs
- Meds
- Panacea
- Remedy
- Holy Water just to prevent mistakes from getting worse
- Echo Drops optional
- Eye Drops optional
- tools/pots/powders for sneak/invis
- even /dnc should have pots/powders just in case
- know your location in the split
- know your role/skill chain/burst in the split
- know your buffs before entering and at the start
Pre Run Buffs
RDMs need to pop composure the moment they land in Kimir. Otherwise, they will not have it back before the run starts. Not an issue, put up composure buffs and enter anyways. They last plenty of time and you won’t need to composure right away. Typical Naturalists Roll
- Haste 2 if you have RDM, Haste 1 for mage with 2x SCH.
- Protect/Shell
- Refresh
- Barwater
- Can do a bar status for naegling bonus. Barpoison does not help in A
Please call out when you are done your buffs so we aren’t waiting around wondering if there is more. This practice can also be used inside as well. I personally call out when I’m starting my last song on BRD for instance.
The Split
There isn’t a need to get the metals in any zone however, just release what you did for the shards to obtain them. A can be nice if you have the time. If you are still clearing the roaming bosses, may as well do D while you kill in order.
There are a few options for collecting the temp items. Usually described as splits. There are strats that are everything from a 4 group split to 2 group splits and even no split and the group moves together getting things done. The problem with everyone together is that you often have 1 person doing the objective while others watch and that’s just slow.
For mage strats:
- A: BLM solos
- B: COR solos
- C: SCH and GEO
- D: RUN and RDM
For double SCH we usually do them as we go. You can still split but you would send the RUN and second SCH to C with the others and smash it out fast. You could also send that second SCH to A to help the BLM but they shouldn’t be a reason it’s needed. B to help the COR if things are sketchy for their solo but the regen should be plenty. Catch D while you go around the world.
For melee double DD
- A: RDM solos
- B: COR solos
- C: DD, DD, WHM, GEO
- D: collect as group during around the world
For melee single DD
- A: BRD and GEO
- B: COR solos
- C: RDM solos
- D: PLD and DNC
If there are issues and someone can’t solo their objective yet, they either support someone else or get supported. If the RDM or COR need help, they team up in B and whoever gets done first will start to work on A as they are going through to get to the A boss.
A
Chest #A3 - shard
- Vanquish 3 Abject foes using single-target magic for the killing blow.
Metal - taint becomes poison
All that really matters is the first 3 to enter the boss room. If you have time or are waiting on others to finish and catch up, you get a casket at 5 kills and taint being poison also lets it be cured off. It’s not going to save your run but it can be nice while adding a little more Gali.
In a mage setup, the blm can pull 6 mobs, mana wall, aoe nuke with the AF body to keep their mp up. When a mob gets low, they can single target it the rest of the way. Note that aoe kills don’t count.
In a melee setup, the rdm can solo this. Set up a solo sc and burst them. Don’t en-spell them to death or it won’t count.
B
Chest #B3 - shard
- Perform a Weapon Skill on 5 Biune foes before defeating them.
Metal - Blocks the Stun and Weight effects inflicted by Leshonn's basic attacks. Seems to have no effect on his TP abilities.
Ignore the metal. Get this done asap. Generally you are sending a COR solo or with a little support to B. Leaden > Viper Bite > Leaden Should kill the fire elementals or be close enough. If it’s not enough for the COR kill, think about sending them some support. A GEO doing a burst works well. Even a RDM. This will be the same in magic or physical setups so CORs need to get used to it.
C
Chest #C3 - shard
- Perform a Magic Burst on 3 Cachaemic foes before defeating them.
Metal - haunt becomes curse
You can’t kill the mobs with the burst. Generally not worth going for the metal. Crooked bolters and use chocobo jig ii after the boss. Just watch your HP when haunt comes off.
In mage setups we have typically done this as a group on the skellies near the boss room. Burst fire. The RUN and COR open a SC and everyone bursts fire. They can take capped dmg and survive so the volley should do the burst without killing and kill at the same time. If you are running double SCH, one of them can make the SC if you want but almost always better to just save the strats. If you have a RDM, the can also open fusion with the cor but often they can silence pull and CC the mobs. With the RUN Red Lotus Blade > Herculean Slash (fusion) > Savage Blade (if it somehow lives the volley or you aren’t hitting hard enough) With the RDM Red Lotus Blade > Flat Blade (fusion) > Savage Blade Or if you want a club from the RDM, it can also add more magical damage if you are buffed for it or just add a stronger closer for your fusion. Red Lotus Blade > Saraph Stike/Judgement (fusion) > Savage Blade
Physical strats, depending on split, do Burning/Lotus>Flat Blade, burst dia, kill. In the 9 boss run, it’s BRD and GEO headed to C.
I haven’t done the BRD/GEO split yet. I assume they can rudra’s > rudra’s and burst? Evis > Rudra’s (burst) > Rudra’s? Will need to discuss more and get some experience doing it.
D
Chest #D3 - shard
- Perform a 4-step Skillchain on 3 Demisang foes before defeating them.
Metal - Blocks all status effects inflicted by Degei's TP abilities.)
Ignore the metal again and just deal with it. Really, it should be such a fast fight it won’t matter.
Magic strats send RUN and RDM to a party room. RUN tanks and RDM does the 4 step. Run pulls and the RDM can break(ga) whatever gets pulled. You are able to do the full room in order for extras but the first 3 are all that matters and you can use that extra time cleaning up other objectives or doing something worth more Gali at the end. I still need to look up the SC but I assume it’s 5 ws followed by a burst. Maybe Red Lotus >< Flat Blade since they can just go back and forth.
For melee, if you are running double DD, we have been doing the objective in the boss room with everyone. Know who’s teaming up with who and which jobs/players can solo. They each take a mob and it gets done quickly. Often done in the quad so the pulls are smaller/safer. Know your sc. Sword users can Red Lotus >< Flat Blade back and forth then just smash. Dagger can Gust Slash >< (Viper Bite/Wasp Sting) and if prime can Ruthless/Ruthless at the end to kill quickly. Not sure about other weapons. We can add a list later or just know your 4 step before entering if you are on dd.
When running with a PLD, the PLD and DD goes to D to do the objective. If the PLD can do one while the DD does the other 2, great.
Bosses
A: Ghatjot and Dhartok
NO WATER DAMAGE! This includes skillchains that include water. That means darkness is bad. Clobbering wave is water based damage that gets stronger the more you are tainted/poisoned. For Ghatjot, it dies fast enough it shouldn’t matter. For Dhartok, it’s why we kill the Botulos. Anyone in range should be removing their own poison with meds. It doesn’t need to be removed the moment it lands on you but don’t let it build up.
Know the weapon skills being used and their interactions with your weapon skill(s) in both directions.
For mage strat, you are bursting stone. SC: (Fire or Aero)>Stone If you don’t have the Metal, the RUN will have to kite after Rayke/Gambit are out. Gravity will help with this. Try to keep it in the bubble. Otherwise, accept that the RUN is going to die.
Esurient Botulus
The only roaming boss that is actually wanted for the run. Getting the Metal will allow players to remove poison which prevents clobbering wave from killing them.
The majority of damage needs to be WS from the back. Magic WS are easier for enmity management but not always an option. Remember that being too close prevents the game from recognizing the WS as being from behind. If you are in a hall, the tank can take the close side while the DDs can take the more spacious side. If you didn’t get the temp item, you were probably either too close or did too much SC damage.
Botulous
This is the only basement temp item we get. Fairly needed for melee. You can use it in mage or just laugh at your run as they drop dead. Basically, the RUN needs to get Rayke and Gambit on and start kiting if they can’t remove the poison. In melee, everyone needs to be using antidotes or remedies. You don’t want the healer casting poisona then being locked out of a cure while someone dies. In the pld setup, there is no aoe poisona. Either use meds or hit the floor.
For the Botulous, you need the majority of damage be from ws behind the mob. SC don’t count so if your sc damage is too high, you will block yourselves from getting the metal. You can however sc and burst a bit. Just gotta be careful not to do too much.
To get “behind” in the hallways, the tank would have to swing around to the side with less space. If the DDs are too close, the game doesn’t register them as behind.
The BRD, RDM and COR can all hold tp for flat blade to stun tp moves. This will keep you safe from charms. In mage strat, you are buffed for magic, the COR will leaden. The RDM can also saraph. One of them should be on stun backup. They can both do dmg but whoever is the backup needs to hold tp until the BRD is over 1k before they toss dmg. The charm will cause way more problems than the extra players damage will solve.
For mage setup, magic ws are great since they meet the buffs and are very strong.
For double DD, you are probably bouncing it back and forth. This needs some work to clean up.
For PLD runs, you can actually hold it.
B: Leshonn and Gartell
Tank removes Shell. No HELIX!
Wind Hands
- Water - Blizzard for Induration. Burst Ice.
Thunder Hands
- Fire > Stone = Scission. Burst Stone.
- Aero > Stone = Scission. Burst Stone.
C: Skomora and Triboulex
Thunder > Fire > Thunder > Dimidiation
- Liquifaction > Fusion > Light
D: Degei and Aita
Job Information
COR
This will be the one job that you will always bring.
During the split, the expectation is to obtain the temp item in B against the Fire Elementals.
Leaden Salute > Viper Bite > Leaden Salute
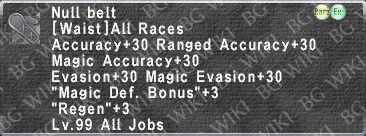
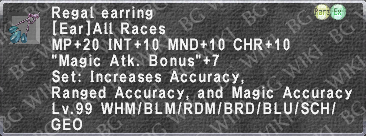
Another major function will be Bolter’s Roll. In order to be able to always have 2 rolls up for every fight, you can roll with the only duration coming from one of: Regal Necklace, Lanun Knife or Rostam. This will make it so Bolter’s is always the shortest duration and so it will be replaced by the next roll.
Pre Buffs: Naturalist's Roll
Entry buffs:
Buffs for the run:
- Bolter’s Roll with short timer
- Crooked Bolter’s after C boss
- Mage
- Samurai’s Roll
- Wizard’s Roll
- Melee
- Samurai’s Roll
- Chaos Roll

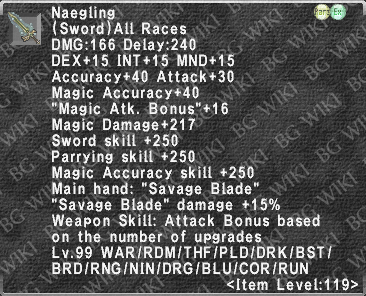

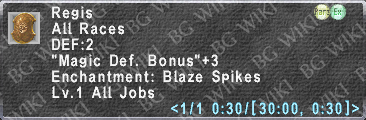


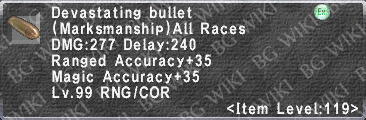


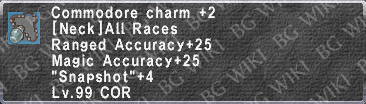

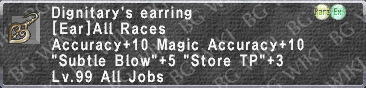

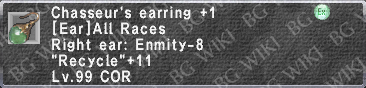


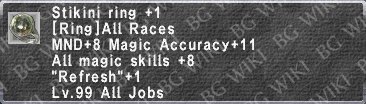

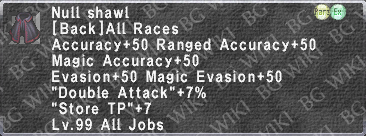



RDM
RDM is heavily used in all Sortie strats. Haste II will be huge for the mages and allows an extra song for the well. Refresh III makes it so the RUN can pretty much never run our of MP. Distract III and Dia III are always going to be important to a melee strat. Frazzle III will help prevent resistances and RDM has some solid bursting damage.
Pre Buffs:
- Try to get there early and pop Composure for the benefits and to start rolling the cooldown.
- If you don't get their early, still use it, you will just have limited starting buff durations on entry.
- Wait for Naturalist Roll from COR.
- Haste II, Refresh III, Shell V for the party.
Entry buffs:
- Phalanx II for the tank.
- I like to Phalanx II everyone if Composure is reactivated for the initial split-up work, if there is time to do so.
- Other typical buffs. Temper II, Aquaveil
- The more self-buffs you can carry for the top floor NMs the better. Each one contributes to a percentage attack bonus to Naegling, but there will be somewhat a balancing act of buffs vs. keeping up with the group. Try not to stop the group in transit for buffs that can be applied during pre-fight BRD, COR buffs. Casting at bitzers, during unexpected agro, or any other conditions in which the group is held up for a moment are opportune times to reapply crucial buffs.
Buffs for the run:
- Reapply Haste II, Refresh III and Phalanx as needed.
C objective (Magic Burst 3 foes without killing them)
- Generally the Corses directly East of the C Device.
- Helpful buffs:
- Standard combat buffs
- Barblizzara/Barparalyze (the Corses generally engage with Ice Spikes)
- Helpful debuffs:
- Pull with Silence
- Immediately Dispel
- Ideal WS/MB combo: Knights of Round (Requires Excalibur) >> Savage Blade >> Fire I
- Non-REMA WS/MB combo: Burning Blade >> Flat Blade (Fire) >> Savage Blade (Fire if the first one missed the burst)
- Immediately bounce to Starting Device after completing the objective and obtaining the Ra'Kaznar Shard C temporary item. Meet up with bros at A Boss (Ghatjot).
Ghatjot - A Boss
- Distract III, Dia III
- Gravity II isn't strictly necessary. The better your group is, the more likely it is that they'll have this guy under 40% by the time Dia III goes on. Skip Gravity II at your own discretion.
- Apply Damage
- Melee - Savage Blade
- Assist with heals when necessary. Watch for Silence.
- Be mindful of Poison (Status) if Ghatjot turns to you, you'll want to
 Remedy this pretty quick.
- Mage - Stone

- Melee - Savage Blade
Leshonn - B Boss
- Do NOT have spikes or enspells active. Can apply Distract III if it's in Wind Hands mode, otherwise Dia III and get to work.
- Apply Damage
- Melee - Savage Blade
- Assist with heals when necessary
- Mage
- Wind Hands - Ice

- Thunder Hands - Stone
- Wind Hands - Ice
- Melee - Savage Blade
Skomora - C Boss
- Distract III, Dia III
- Try not to apply Gravity II if you can help it. This guy has goofy pathing and the longer he takes his clown booty to get lined up with the bonk squad the longer he takes to down.
- Apply Damage
- Melee - Savage Blade
- I like Enfire if I think of it, otherwise Naegling is the preferred anti-clown deterrent.
- Assist with heals when necessary
- Mage - Fire

- Melee - Savage Blade
Degei - D Boss
- Dia III, Gravity II, Distract III (if you can, it's pretty difficult, don't waste too much time on it being a top floor boss)
- Proc blue with Ascendant element tier 1 nuke to Degei's TP move:
- Icy Grasp = Fire
- Flaming Kick = Water

- Flashflood = Thunder

- Fulminous Smash = Stone
- Eroding Flesh = Aero

- Icy Grasp = Fire
- Apply Damage
- Melee - Savage Blade
- Assist with heals when necessary
- Mage
- Damage based on most recent TP move. Same as proc element.
- Icy Grasp Element: Fire
- Flaming Kick Element: Water
- Flashflood Element: Thunder
- Fulminous Smash Element: Earth
- Eroding Flesh Element: Wind
- Melee - Savage Blade
Esurient Botulus roaming NM - E Boss (A Basement)
- Dia III, Frazzle III, Addle II
- Apply damage
- Melee and Mage - Sanguine Blade
Dhartok - E Boss (A Basement)
- Gravity II, Distract III, Dia III
- Apply Damage
- Melee - Black Halo
- Assist with heals when necessary
- Mage - Stone
- Melee - Black Halo
Gartell - F Boss (B Basement)
- Stymie Gravity II, try to Distract III but don't spend more than a couple casts, Dia III
- Apply Damage
- Melee - Black Halo
- Assist with heals when necessary
- If this bad boy turns away from the PLD or tank and sets his sights on the bonk masters, it's time to coordinate your efforts between healing and damaging. Steady bonk n' heals should help you as long as the other members of the group with heals and bonks are carrying out their sacred responsibilities of bonkingness.
- Mage
- Wind Hands - Ice
- Thunder Hands - Stone
- Wind Hands - Ice
- Melee - Black Halo
Triboulex - G Boss (C Basement)
- Dia III
- Apply Damage
- Melee - Black Halo
- Assist with heals when necessary. Watch for Paralyze.
- Mage - Fire
- Melee - Black Halo
Aita - H Boss (D Basement)
- Chainspell: Gravity II until applied, follow up with Dia III
- Distract III
- Give it a couple casts, if it doesn't stick, get to smashing.
- If not doing F Boss, you can Stymie.
- May be asked to Proc blue with Ascendant element tier 1 nuke to Degei's TP move:
- Ideally GEO would do this in Melee
- Icy Grasp = Fire
- Flaming Kick = Water
- Flashflood = Thunder
- Fulminous Smash = Stone
- Eroding Flesh = Aero
- Apply Damage
- Melee - Black Halo
- Assist with heals when necessary
- Mage
- Icy Grasp Element: Fire
- Flaming Kick Element: Water
- Flashflood Element: Thunder
- Fulminous Smash Element: Earth
- Eroding Flesh Element: Wind
- Icy Grasp Element: Fire
- Melee - Black Halo
|














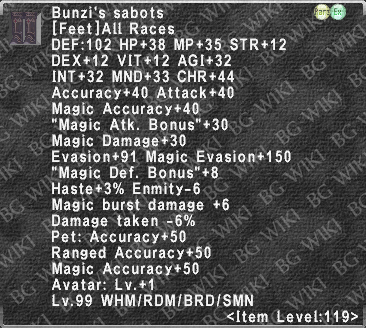

_description.png)

_description.png)

_description.png)


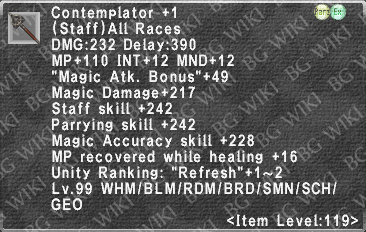

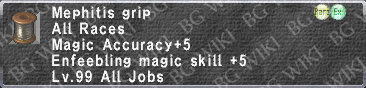

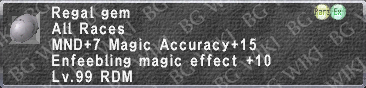







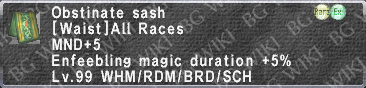

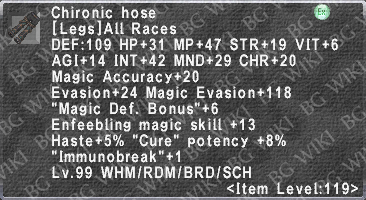

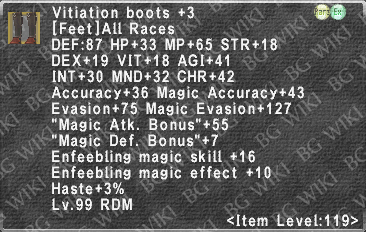

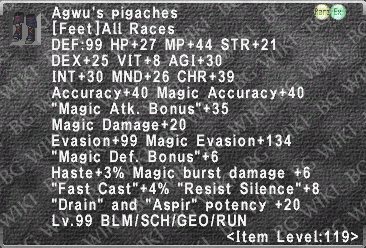
GEO
GEO gets used in every mage setup and in the more consistent melee setup. I typically run /WHM but as ML increases, I assume I will change to /SCH.
GEO Mage
- Pre buffs:
- None
- None
- Initial buffs:
- entrust RDM with haste
- Magic Bubbles
- Run bubbles
- Malaise/Acumen upstairs
- Malaise/INT basement?
During the split, you either go to C with the SCH or you are assisting others.
GEO Melee
Only the single DD setup uses GEO which is the way groups are dealing with Hard Mode Aminon. In this setup, the GEO goes /drk for Aminon. /dnc or /nin is standard for 8 boss runs. I would like to experiment with /war at some point as well.
You will be expected to melee on all bosses. Sets to be discussed later.
- Pre buffs:
- None
- None
- Initial buffs:
- Entrust - Indi-Regen on anyone that may need help. Often newer players.
- The Split
- You go with the BRD to A.
- Kill Shot with Magic. 6 kills to get the metal and allowing you to remove the poison.
- Magic Burst Fire.
- You go with the BRD to A.
- Bosses
- Fury/Frailty are your go to buffs.
- A: nothing special.
- B: can Entrust STR.
- C: Indi-Fury > Blaze of Glory > Geo-Frailty > Ecliptic Attrition > Dematerialize.
- D: Proc.
- E: Judgment.
- After the fight, Entrust Regen if players were poisoned. Put up your Regen to spread out the Regens.
- G: Blaze of Glory and Dematerialize.
- H: Entrust Indi-Precision on the DD as you get there.
- Indi-Gravity pre fight.
- Bolster+Widened Compass Geo-Frailty on the pull.
- Get proc before engaging.
- Judgment
- F: Entrust Indi-Precision on the DD as you get there.
- COR should Wild Card. If you get Bolster back, Indi-Fury > Bolster > Geo-Frailty.
- Otherwise, Indi-Fury > Blaze of Glory > Geo-Frailty > Ecliptic Attrition > Dematerialize.
- Judgment
- Fury/Frailty are your go to buffs.
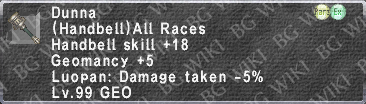
For weapons, you don't need Idris for melee and it's only use is the casting of Geomancy. Your main options for damage become,
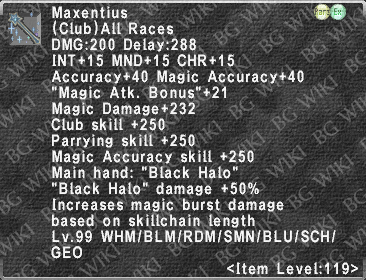
- Maxentius - your main weapon on the top floor.
- Magesmasher +1 - from UNM gets 15% from rp. It also has a massive DMG value, 17 MND and up to 26 attack. A very solid option.
- Tishtrya - a bit low for DMG but stp+10 makes a massive difference combined with the 500 tp bonus. It starts with more DMG than Idris at R0 but loses pace at R15.
- Cath Palug Hammer - an excellent weapon in the main hand or offhand. DA+7% and MND+25 is very solid.
- Ukaldi - actually possible to run in the offhand with ACC in the 90% range.
|

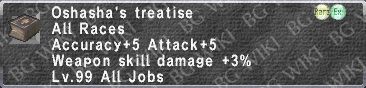

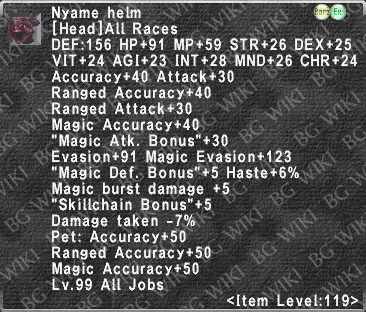

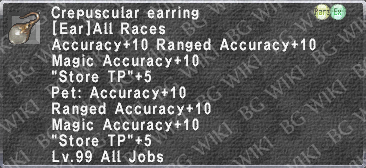

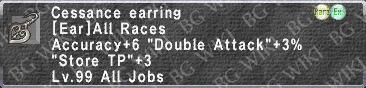

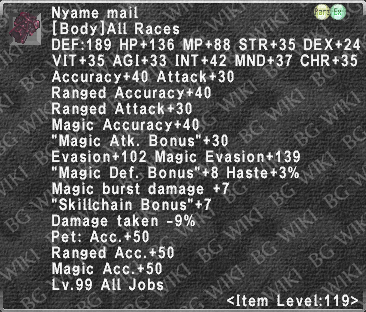


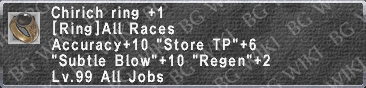


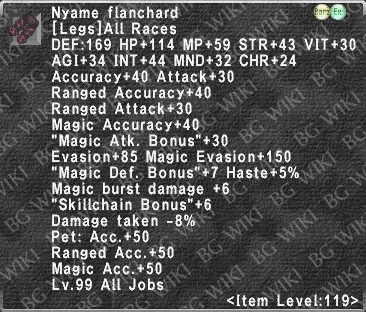

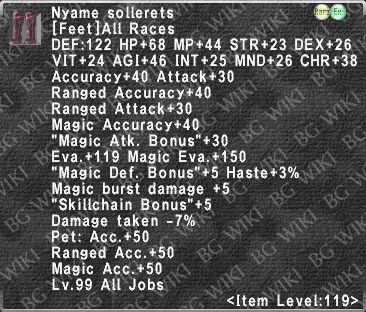

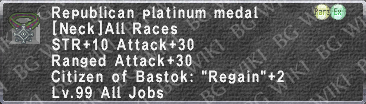

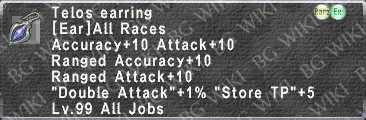



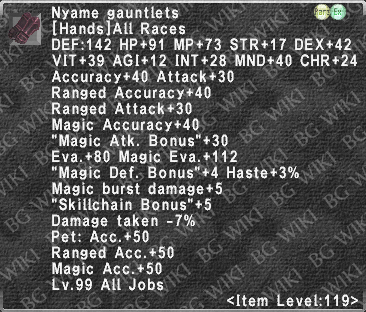

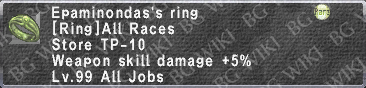

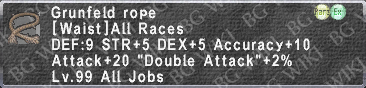
|



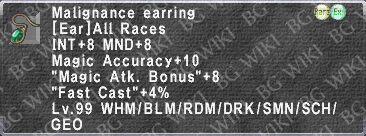

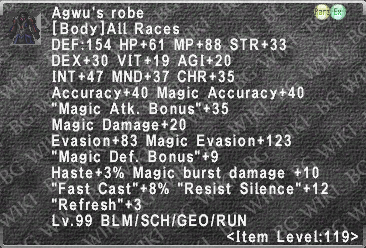

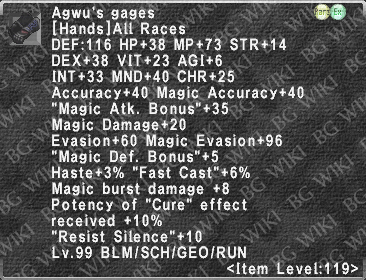


RUN
SCH
BLM
PLD
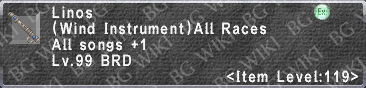
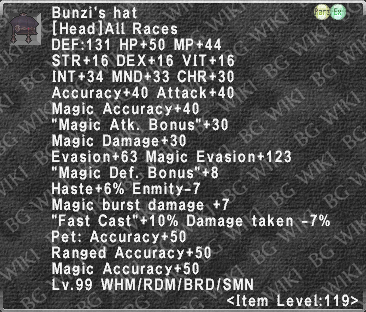
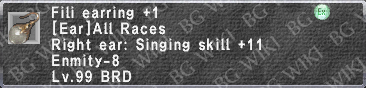
BRD
Used for melee methods. Since they all run a RDM you only need 1 March.
- A for the split.
- Make Fusion with Burning Blade to Flat Blade.
- GEO wil burst fire.
- Honor March, Valor Minuet V, Valor Minuet IV, Aria of Passion OR Valor Minuet III at the start.
- Blade Madrigal when we get to E boss.
- Soul Voice at Aita (D Basement) if attempting 8 boss.
- At Triboulex (C Basement) if you won't make 8.
Esurient Botulus - Hold TP for Flat Blade
- You will be stunning Slimy Proposal.
Leshonn (B Boss) - do not use NiTro in case of dispel.
|





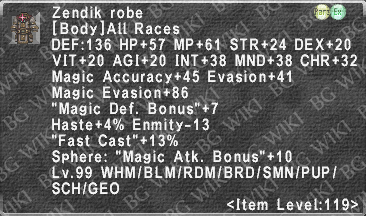

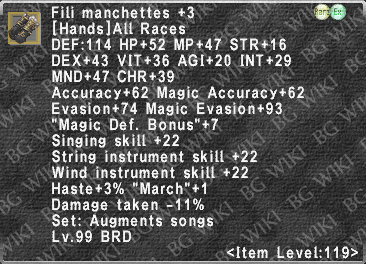


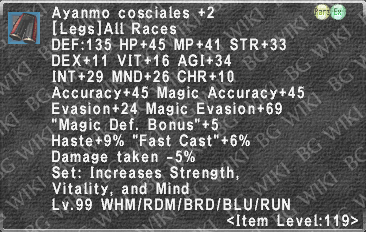


WHM
DNC
for 4 step
NMs
- No darkness/distortion in A/E
- No darkness in C/G - heals NM
- No ruthless vs gartell